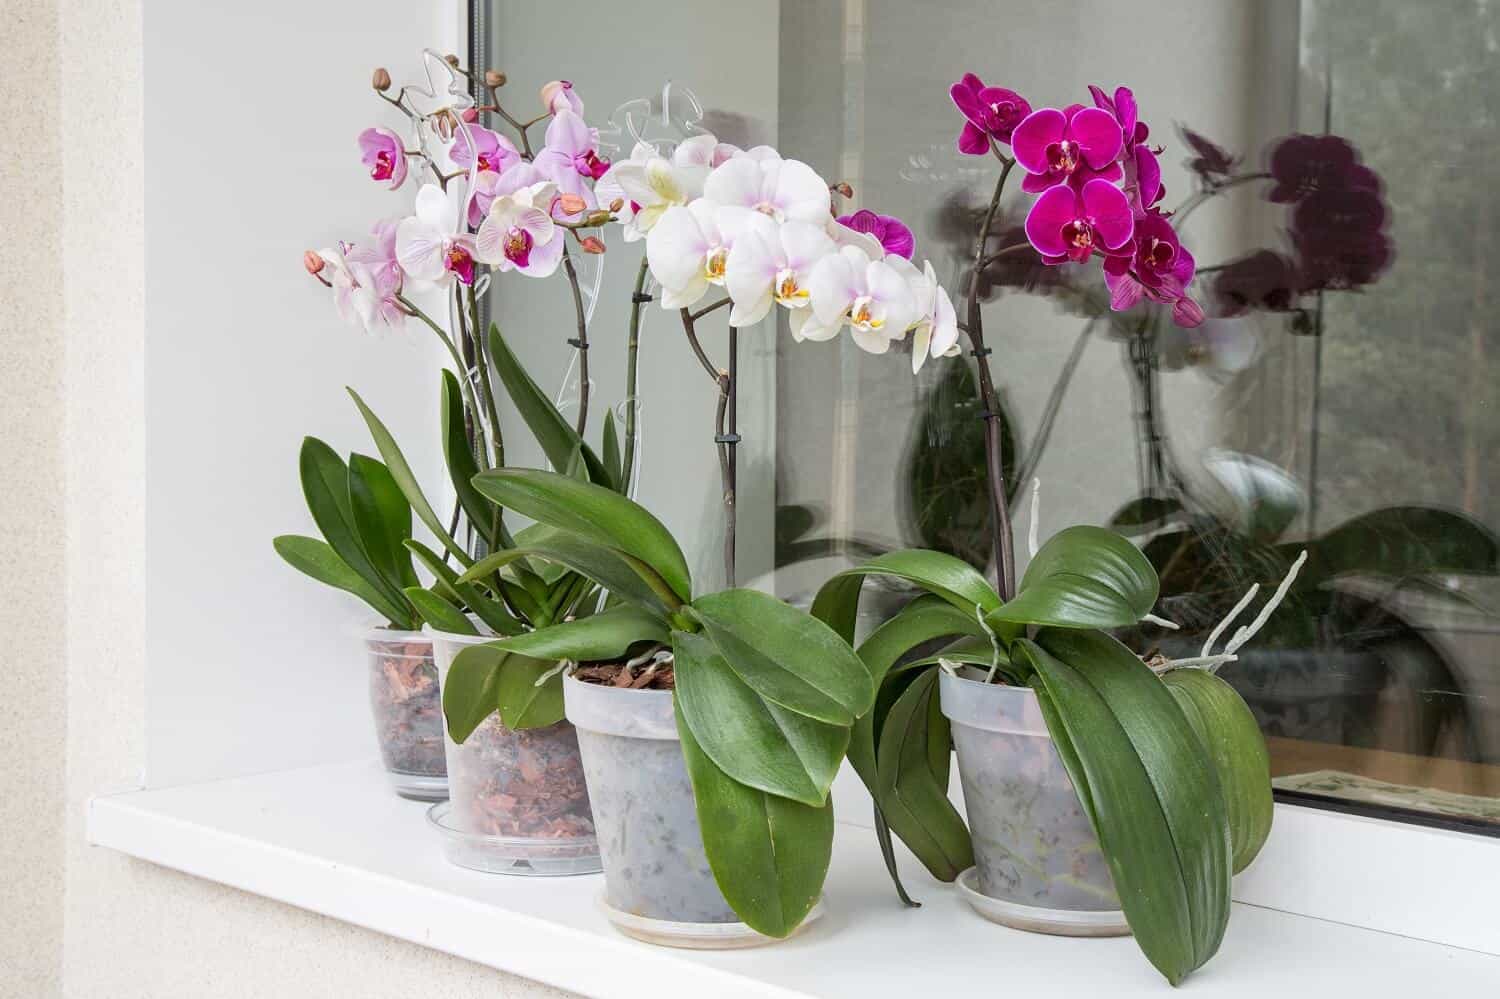
Nothing is more fulfilling for plant lovers than getting to grow and care for their Orchids to bloom. They bloom at least once a year and on some occasions twice depending on the varieties.
The provision of optimal growing conditions; will go a long way in enhancing its adjustment to the new environment and eventual thriving. Being common house plants, they come with less growing and maintenance demands. However, they can be fussy when some of the required growing needs are not sufficient.
It can be frustrating if you fail to get some flowers, with visibility of additional issues like leaves dropping or yellowing of leaves. Luckily, all hope is not lost, you can still revive it if you discover the growth abnormally early.
In today’s step-by-step guide on how to revive an orchid, you will gain great insights into how to diagnose and solve the growing challenges you are experiencing currently.
So, stay with me:
Common Growing Issues with Orchids
Once your Orchid settles well into the newly chosen location, the plant will thrive and eventually reward you with elegant blooms. However, sometimes this is not the case and you might wonder what could be the issue.
While some growing problems can be easily recognized, others need detailed scrutiny of the plant to establish the root cause of it.
The following common growing issues should be a call for alarm.
Wrinkled Leaves
If the leaves are shriveling or wrinkling; it is a clear sign of underwatering. The issue stems from unhealthy root growth. Normally, the roots should be green or white and also plump, but black roots, mean there is a possibility of root rot.
Wrinkled leaves are an indication that your cultivar is struggling and failing to explore befitting remedies; the plant will in the end die.
Yellowing of the Leaves
Overwatering can result in root rot and leaves yellowing. Orchids prefer moderate watering, with extreme watering proofing to be detrimental to their optimal growth.
Flowers Dropping
It takes a lot of care and time to achieve the long-awaited bloom. Sometimes it can be so devastating when your flowers do not get to fully bloom but start dropping a bit early.
Most probable causes of bud dropping can be attributed to; overwatering or underwatering, extreme fluctuations in temperatures and humidity levels, pests and diseases infestation, and the presence of harmful chemical fumes.
Steps on How to Revive an Orchid
If you have noticed the above problem, you must be perturbed about losing your orchid entirely. Relax, the following steps should come in handy in reviving and caring for it until it flowers.
Check Temperature and Humidity Levels
It is prudent to check and measure the temperature levels of the location your Orchid is placed in your space.
Naturally, warm temperatures between 50⁰F- 90⁰F are preferable. Though you might be tempted to use a heating vent to up your temperatures, do not get the heating vents near your plant because it will quicken its death
Be wary of cold air drawn indoors and ensure your plant is not exposed to it, including dry air, since the impacts can cause the reviving process a losing battle.
Humidity levels are crucial too, to its great development and flowering. High humidity, enhances full and prolonged blooming period. Humidity levels of between 50-70%, should be ideal.
Get a plant humidifier to avoid taking any chances when it comes to the provision of the right humidity levels.
Review the Watering Routine
If you are experiencing bud-dropping and, wrinkled leaves, then probably it is about time you review the water routine.
Orchids are not thirsty plants; thus it is imperative to moderate watering to avoid any root rot and subsequent issues associated with it.
Therefore, check the potting mix used; if it feels dry and the pot is kinda lighter, that is when to consider watering.
Remember its roots soak up water faster; in case of overwatering or underwatering the effects can be easily felt by the plant.
Check the roots for any unusual look; if they are green or whitish, then the water levels are up to the optimal levels; gray or wilted roots are a sign of underwatering.
Increase the watering intervals and consider repotting for better results, when the roots shriveled and gray. If the roots are brownish and squashy, it is a warning that the roots are rotting.
As a rule of thumb, water twice during the growing season (spring and summer) and once during the cold season.
Cut Rotten Roots and Flower Spikes

Ideally, white, green, and plump roots show that your orchid is in a healthy state.
On the contrary, when the roots turn brown or black, with leaves yellowing and dropping; roots might be rotting. You must assess the situation of the root system and act accordingly.
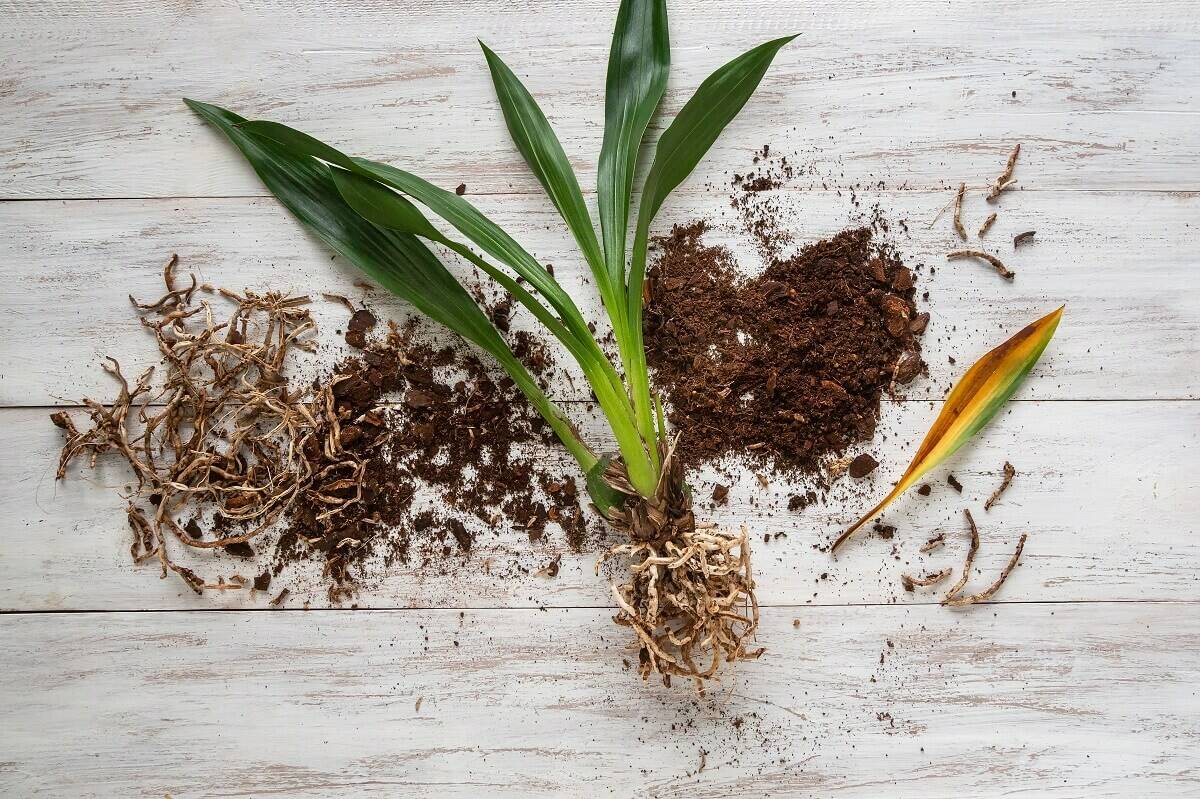
Gently remove the plant from the container and review the state of the roots; if you notice a spongey, brown, or black look on some roots, then prepare to cut off those roots completely. Use sharp and sterilized secateurs to do so.
The cutting of the rotten roots should be done with immense care to avoid damaging the healthy roots.
Once done, repot, into a new pot, with fresh potting mix. Keep the watering to the recommended levels; more frequent during the growing season and less during winter.
In addition to cutting the affected roots, consider pruning the old flower spikes of your Orchid. Mainly, this is to prevent the plant from spending so much energy on the empty flower spike and prepare it for the upcoming blooming season.
However, some cultivars can still flower through the same flower spikes, so understand your variety first before pruning. If it flowers twice on the same flower spike, then avoid pruning, but if not then consider pruning after the blooming period is over.
Change the Growing Substrate
Point to note; Orchids do not grow well on potting soil or any other potting mix apart from the specific tailored growing substrates. You can purchase a special Orchid mix or better yet make your mix using materials like; bark or cork, peat, and charcoal.
The growing medium should be acidic, with a PH of between 5.5-6.5 and relatively good drainage. The reviving journey does not stop with fixing the roots, moderating the watering, or providing the right temperature and humidity levels; changing the growing substrate will complement the above-mentioned remedies.
Change the growing substrate and consider applying water-soluble fertilizer when watering to spur its survival and growth.
Apply a Water-Soluble Fertilizer
To spark consistent and appealing growth; consider applying a water-soluble fertilizer to your cultivar. Application of the fertilizer should be done during spring and summer, and not during winter because it can worsen the well-being of your orchid.
A water-soluble fertilizer can easily be incorporated into your watering routine; to enhance great absorption.
Manage Pests and Diseases Appropriately
Despite not being highly susceptible to pests and diseases; it can still be attractive to different pests including; aphids, mealybugs, spider mites, scale, and whiteflies. Luckily, most of these pests can be easily eliminated.
However, failure to control pests and diseases can result in stunted growth; with leaves looking deteriorated and some yellowing. Use soapy water to wash the leaves of your Orchid, to rid pests.
Additionally, use alcohol or neem oil too, applying twice a week in case of heavy pest infestation.
It is prudent to do a weekly inspection to check and spot any signs of pests to mitigate the risks early. Rather than being reactive when the damage is already done.
Fungal diseases are more common with Orchids.
For example, botrytis, leaf algae, and petal blight. Besides root rots, it is necessary to be on the lookout for any development of fungal disease to establish if this is the main stressing issue to your cultivar.
If you spot any fungal infection, used sterilized secateurs to trim off the affected leaves or buds and consider spraying a fungicide to kill fungal spores and revive the plant.
Review the Quality of Light Exposure
Having checked all the boxes above from; control of pests and diseases, application of fertilizer, fixing root rot, and changing growing substrate to managing temperature and humidity levels; it is time to review the quality and amount of light your orchid is exposed to.
The quality and quantity of light can also contribute to the stress your cultivar is experiencing. Bright indirect sunlight is ideal, but in case of exposure to direct light, the foliage will be burnt.
Consider moving your plant to a different location where indirect light is accessible significantly throughout the day. Avoid direct light entirely.
Extra Tip: Repotting
Repotting should always be done, when any yellowing of the leaves, buds dropping, or root rots are identified. Repotting with a fresh growing medium, and application of the appropriate water-soluble fertilizer will give the cultivar a lifeline.
Once the rotten roots have been removed, repotting should follow; to enhance optimal growing conditions are provided.
Conclusion
As the caring and committed plant parent that you are; the above tips will go a long way in helping you revive your Orchid and grow it into bloom.
However, remember that some problems highlighted above cannot be reversed if not spotted early; especially root rot.
Regular assessment of your cultivar will help identify growing issues early and remedy them before they become serious and irreversible. Whenever you spot an issue, act swiftly to solve it.
It is my hope the above guide will be a great tool for you in reviving your orchid. If you’re experiencing any growing issues at the moment, refer to this guide and we would love to know your feedback and progress.

How to use clay pebbles