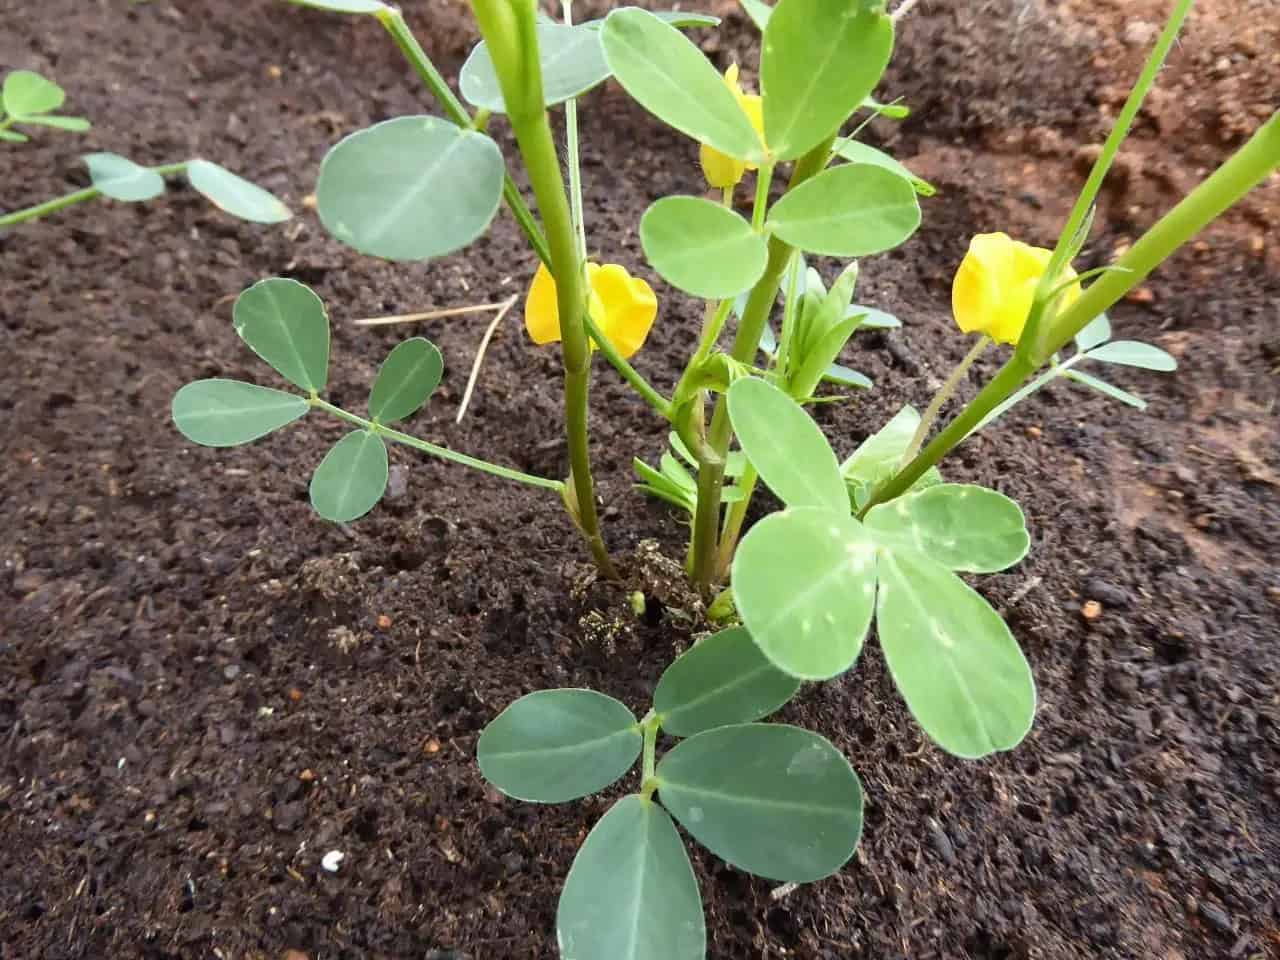
Did you know that peanuts perform one of the strangest tricks in the plant world?
Unlike most food crops, peanuts flower above the ground but develop their pods below it. Botanists call this process geocarpy.
After pollination, a slender stem known as a "peg" grows downward and pushes the developing peanut pod into the soil, where it matures out of sight.
Another surprise is that peanuts aren't actually nuts at all.
Botanically speaking, they're legumes, closely related to peas, beans, and lentils. That relationship explains why peanut plants have similar growing habits to many other legumes, including their ability to fix nitrogen in the soil.
Therefore, if you’re looking to add diversity to your food garden, consider growing peanuts. You can either grow them in containers, in raised beds, or in the ground under a suitable USDA hardiness zone, 8 through 11 to be precise.
In today’s beginner's guide, we will discuss all these approaches. Your work is to choose one that fits your specific situation and convenience.
Basic Requirements for Healthy Peanuts
Temperature
Peanuts originated in South America and love long, sunny growing seasons. Most varieties require between 120 and 150 frost-free days from planting to harvest, although some early varieties mature slightly faster.
As a matter of fact, peanut seeds germinate best when soil temperatures reach at least 65°F (18°C), while vigorous growth occurs when daytime temperatures remain between 70°F and 90°F (21°C to 32°C).
Sunlight
In the tropics, these plants require sufficient sunlight exposure in excess of seven hours daily.
As a general requirement, the plants need at least six to eight hours of direct sunlight. More sunlight generally means healthier plants and higher yield.
Soil (Growing Media)
Since peanut pods develop underground, the soil must be loose and well-draining. Heavy clay can make it difficult for pegs to penetrate the ground and for pods to expand properly.
This is why you’re likely to succeed with peanuts in sandy soils, raised beds, and containers. All three provide the loose-growing conditions peanuts naturally prefer.
Easy Steps for Growing Peanuts at Home
Choosing the Right Peanut Variety
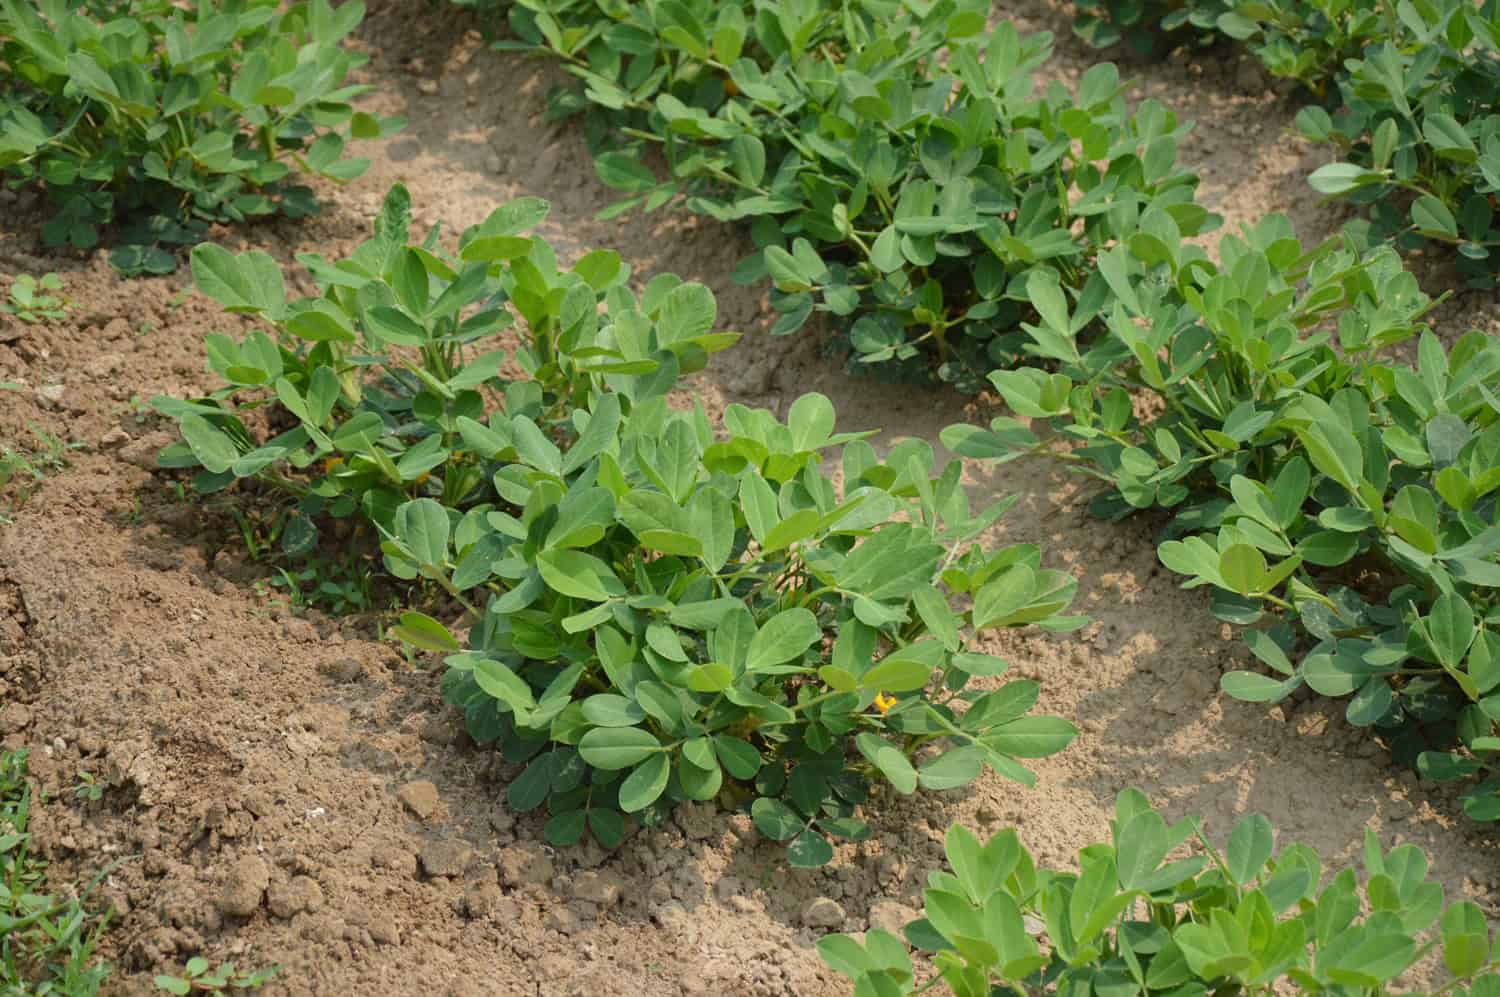
There are four main peanut types that you’re likely to encounter: Runner, Virginia, Spanish, and Valencia.
Valencia
Valencia peanuts are often the easiest choice for beginners because they mature relatively quickly and produce sweet kernels. They're also popular in home gardens because each pod often contains three or more seeds.
Besides, if you live in a region that experiences a shorter growing season, Valencia is the variety for you.
Spanish - These peanuts mature fairly early as well and perform well in warmer regions. They're commonly used for roasting and peanut butter production.
Virginia - Virginia peanuts are famous for their large kernels. If you've ever enjoyed oversized roasted peanuts, there's a good chance they came from Virginia-type plants.
Runner Peanuts - they dominate commercial production in the United States because of their consistent growth and uniform kernels.
Planting in Containers
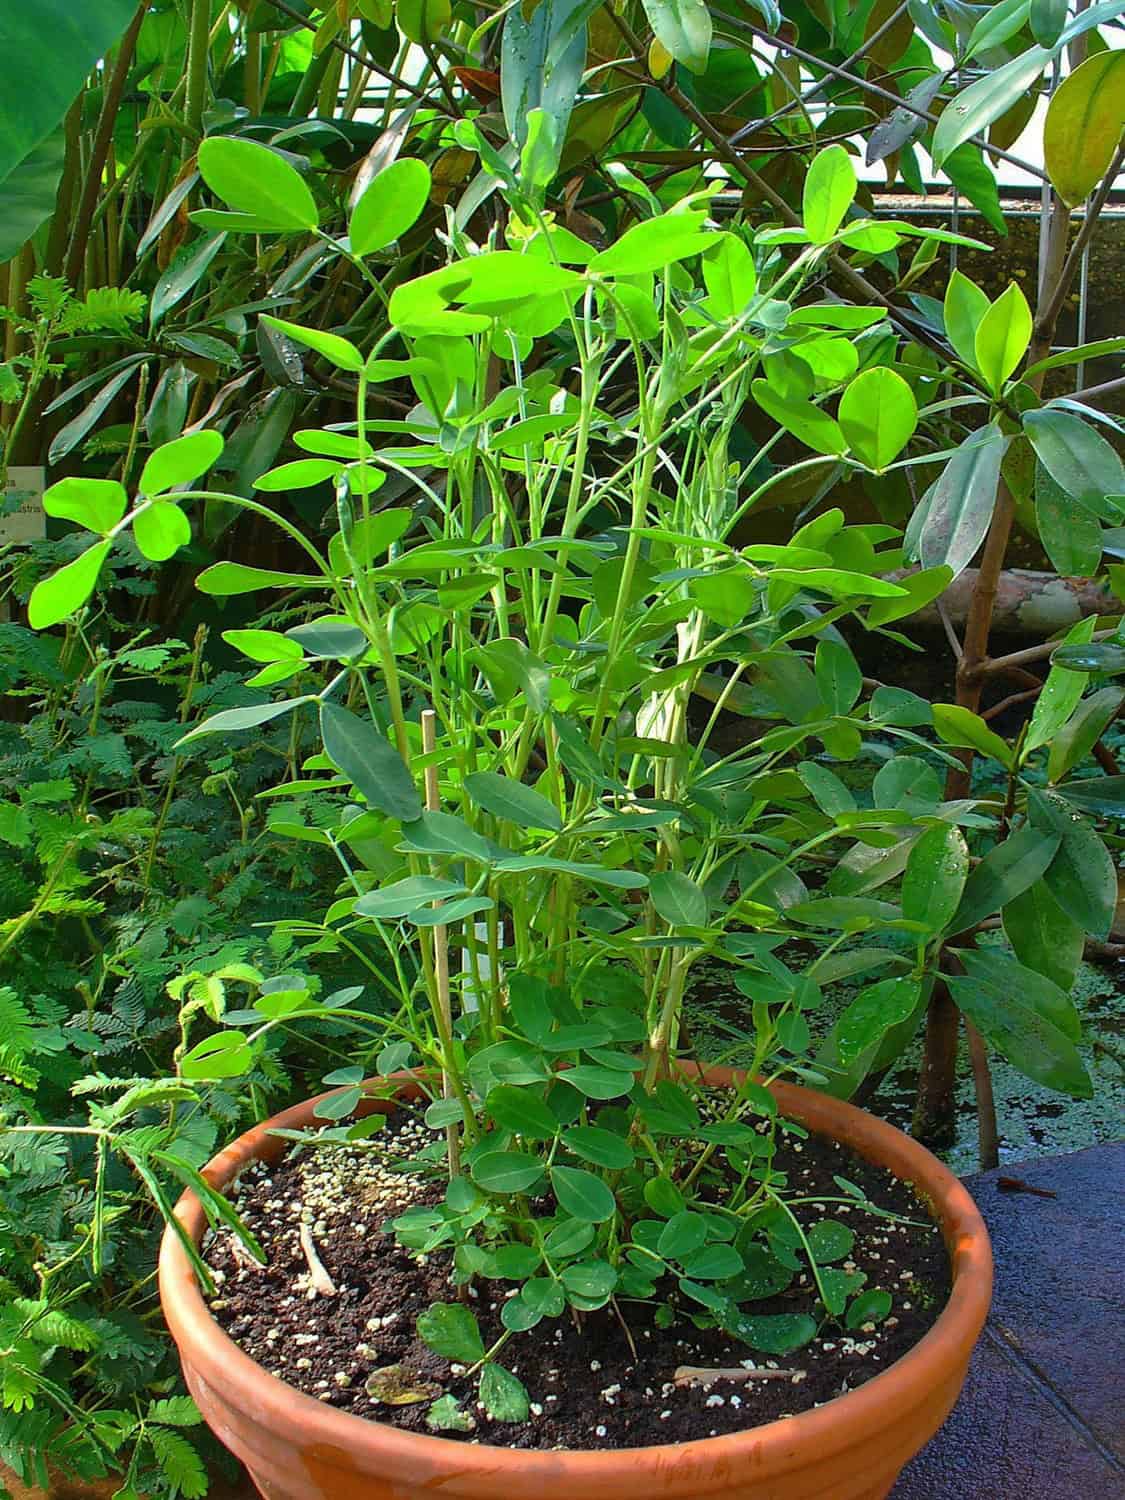
Growing peanuts in containers is probably one of the easiest methods for beginners.
Containers allow you to control soil quality, improve drainage, and move plants if weather conditions become challenging (e.g., during overwintering).
This method is particularly useful if you have to contend with patios, balconies, or poor native soil.
Choosing the Right Container
Start by choosing a sizeable container because peanut plants need room to spread and develop underground pods. The container should be at least 12 inches deep, although 16 inches is even better.
Wider containers generally outperform narrow ones because they provide more space for pegs and pods. Large fabric grow bags work particularly well because they promote excellent drainage and healthy root development.
Preparing the Potting Mix
A mixture containing quality potting soil, compost, and coarse sand often works well.
Your target is to create a light growing medium that drains quickly while retaining enough moisture for steady growth.
Planting Peanut Seeds
Purchase raw, untreated peanut seeds intended for planting. Grocery store peanuts are often roasted or processed and may not germinate reliably.
Plant seeds about 1½ to 2 inches deep. Space them approximately 4 to 6 inches apart. Water thoroughly after planting.
Under warm conditions, seedlings usually emerge within one to two weeks.
Caring for Container-Grown Peanuts
As plants grow, keep the soil consistently moist since container plants dry out faster than garden beds, particularly during hot weather. Check moisture regularly and water deeply whenever the top inch of soil begins to dry.
Once flowering begins, loosening the soil is important because after pollination, pegs will start growing downward. This ensures the surface can easily be penetrated by the pegs.
Planting in Raised Beds
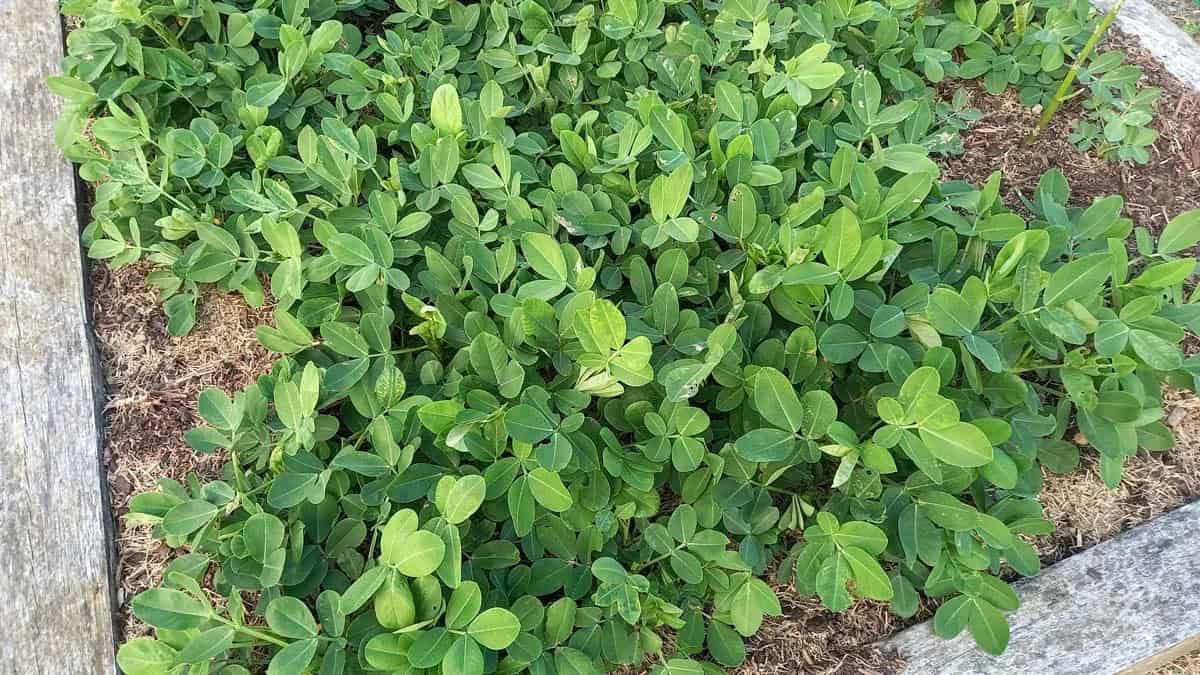
Photo: Kats Garden
Raised beds combine many of the benefits of containers with the productivity of traditional gardens.
If you’re dealing with clay soil, poor drainage, or compacted ground, raised beds can dramatically improve peanut production.
It works like a charm because raised beds naturally warm up faster in spring because their soil sits above ground level. They also drain better after rain and allow you to create ideal growing conditions from the start.
The result: faster growth and high yield per square meter.
Preparing the Bed
Begin by filling the bed with loose, fertile soil mixed with compost.
Make sure you avoid excessive nitrogen fertilizer when prepping the bed, since peanuts are legumes, they can access nitrogen through beneficial bacteria associated with their roots. Too much nitrogen often encourages leafy growth at the expense of pod production.
Planting Peanut Seeds
Wait until all danger of frost has passed and soil temperatures remain consistently warm.
Plant seeds 1½ to 2 inches deep and space them about 6 inches apart in rows spaced 24 to 36 inches apart. After planting, water thoroughly and keep the soil evenly moist until seedlings emerge.
As the seedlings continue to grow, you can introduce some mulch to conserve moisture. Additionally, you can lightly hill soil around the plants, similar to growing potatoes during flowering.
How to Grow Peanuts in the Garden
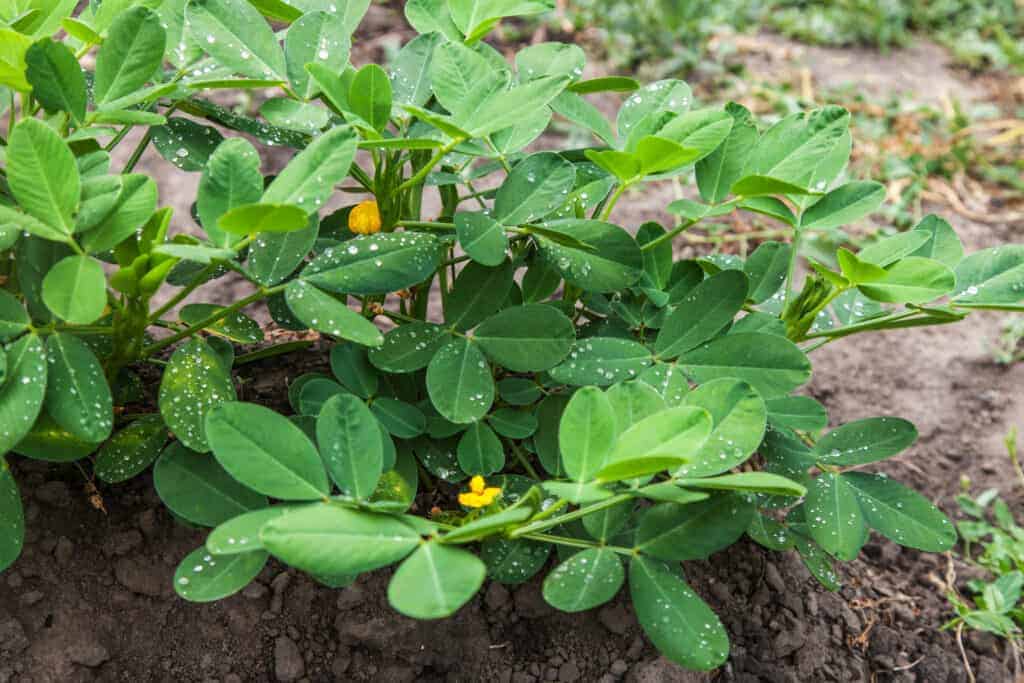
If you live in areas with suitable soil, have sufficient garden space, and a long growing season, planting directly in the ground is the right choice as long as the USDA Hardiness zone runs from 8 through 11.
Selecting the Right Location
Choose the sunniest part of your garden.
Peanuts perform best in locations receiving full sun throughout the day (8 hours is ideal). Shady areas often produce weak plants and reduced harvests.
Preparing the Soil
Good soil preparation can determine whether you harvest a handful of peanuts or several pounds. Loosen the soil to a depth of at least 8 to 12 inches. Remove rocks, roots, and debris that could obstruct developing pods.
If your soil contains significant clay, incorporate compost and coarse sand to improve texture. But most importantly, conducting a basic soil test will guide your actions when it comes to soil amendment.
Planting the Seeds
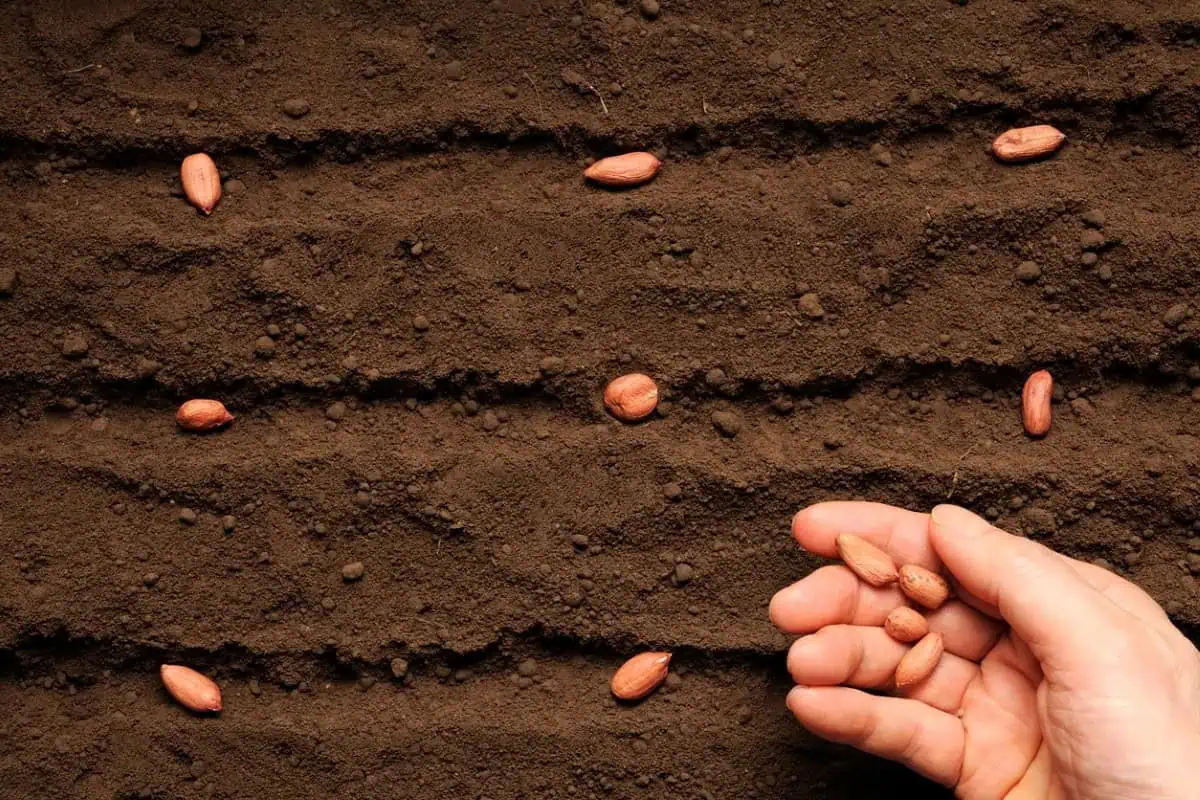
Once temperatures are consistently warm, sow seeds 1½ to 2 inches deep. Space plants approximately 6 inches apart, with rows 24 to 36 inches apart.
Water gently after planting and continue providing moisture until seedlings establish themselves. Some people rely on the rainy season to provide the necessary moisture.
Watering Throughout the Season
Peanuts generally require about one inch of water per week from rainfall or irrigation.
Consistent moisture supports flowering and pod development. However, soggy conditions can lead to disease and poor growth.
Toward harvest time, you should reduce watering slightly to encourage pods to mature and dry.
Fertilizing Peanut Plants
Since peanuts are not heavy feeders, excessive fertilizer often creates lush green foliage while reducing pod production. Compost incorporated before planting is often enough for home gardens.
If a soil test indicates deficiencies, phosphorus and calcium are generally more beneficial than large amounts of nitrogen. Calcium plays an important role in pod development and kernel quality.
Pests and Diseases to Watch For
Fortunately, peanuts are relatively trouble-free compared to some vegetable crops.
Occasional pests include aphids, caterpillars, and leaf-feeding insects. Healthy plants usually tolerate minor damage without significant problems.
Fungal diseases become more common when plants remain wet for extended periods. Proper spacing and good air circulation greatly reduce disease risk.
The best defense is prevention. Healthy soil, adequate sunlight, and proper watering solve many problems before they begin.
How and When to Harvest Peanuts
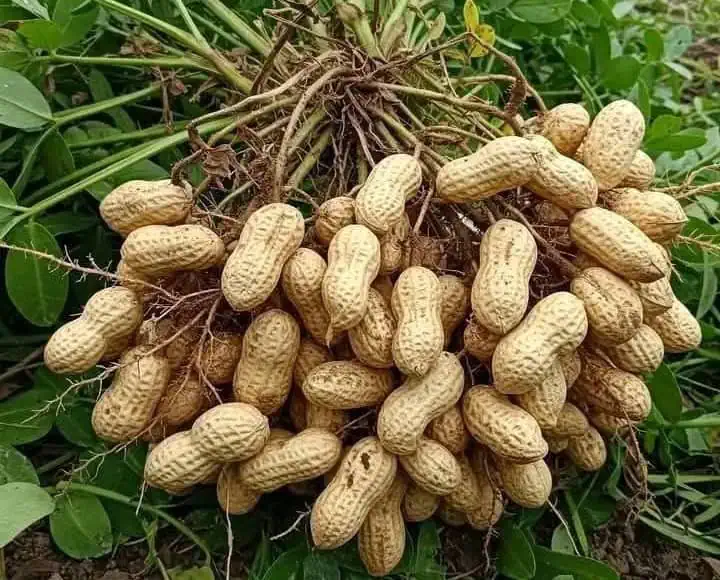
After spending months hidden underground, the crop is ready to reveal itself. Most peanut varieties mature between 120 and 150 days after planting. Yellowing leaves often provide the first clue that harvest time is approaching.
To check readiness, carefully dig up a single plant. Examine the pods. Mature peanuts typically have fully developed kernels and darkened inner shell surfaces.
When ready, loosen the soil with a garden fork and gently lift the entire plant. You'll often find dozens of peanuts attached to the roots.
Shake off excess soil and hang plants in a warm, well-ventilated location for one to two weeks to cure. This drying period improves flavor and storage quality. After curing, remove the pods and store them in a cool, dry location.
Conclusion
You’ve just read my go-to steps for growing tasty peanuts in your home.
Therefore, if you're looking for a fun crop that combines curiosity, productivity, and a little bit of mystery, peanuts deserve a place in your garden this season.
If you found this guide helpful, share it with fellow gardeners on Facebook and save it to Pinterest so you'll have it handy when planting season arrives.