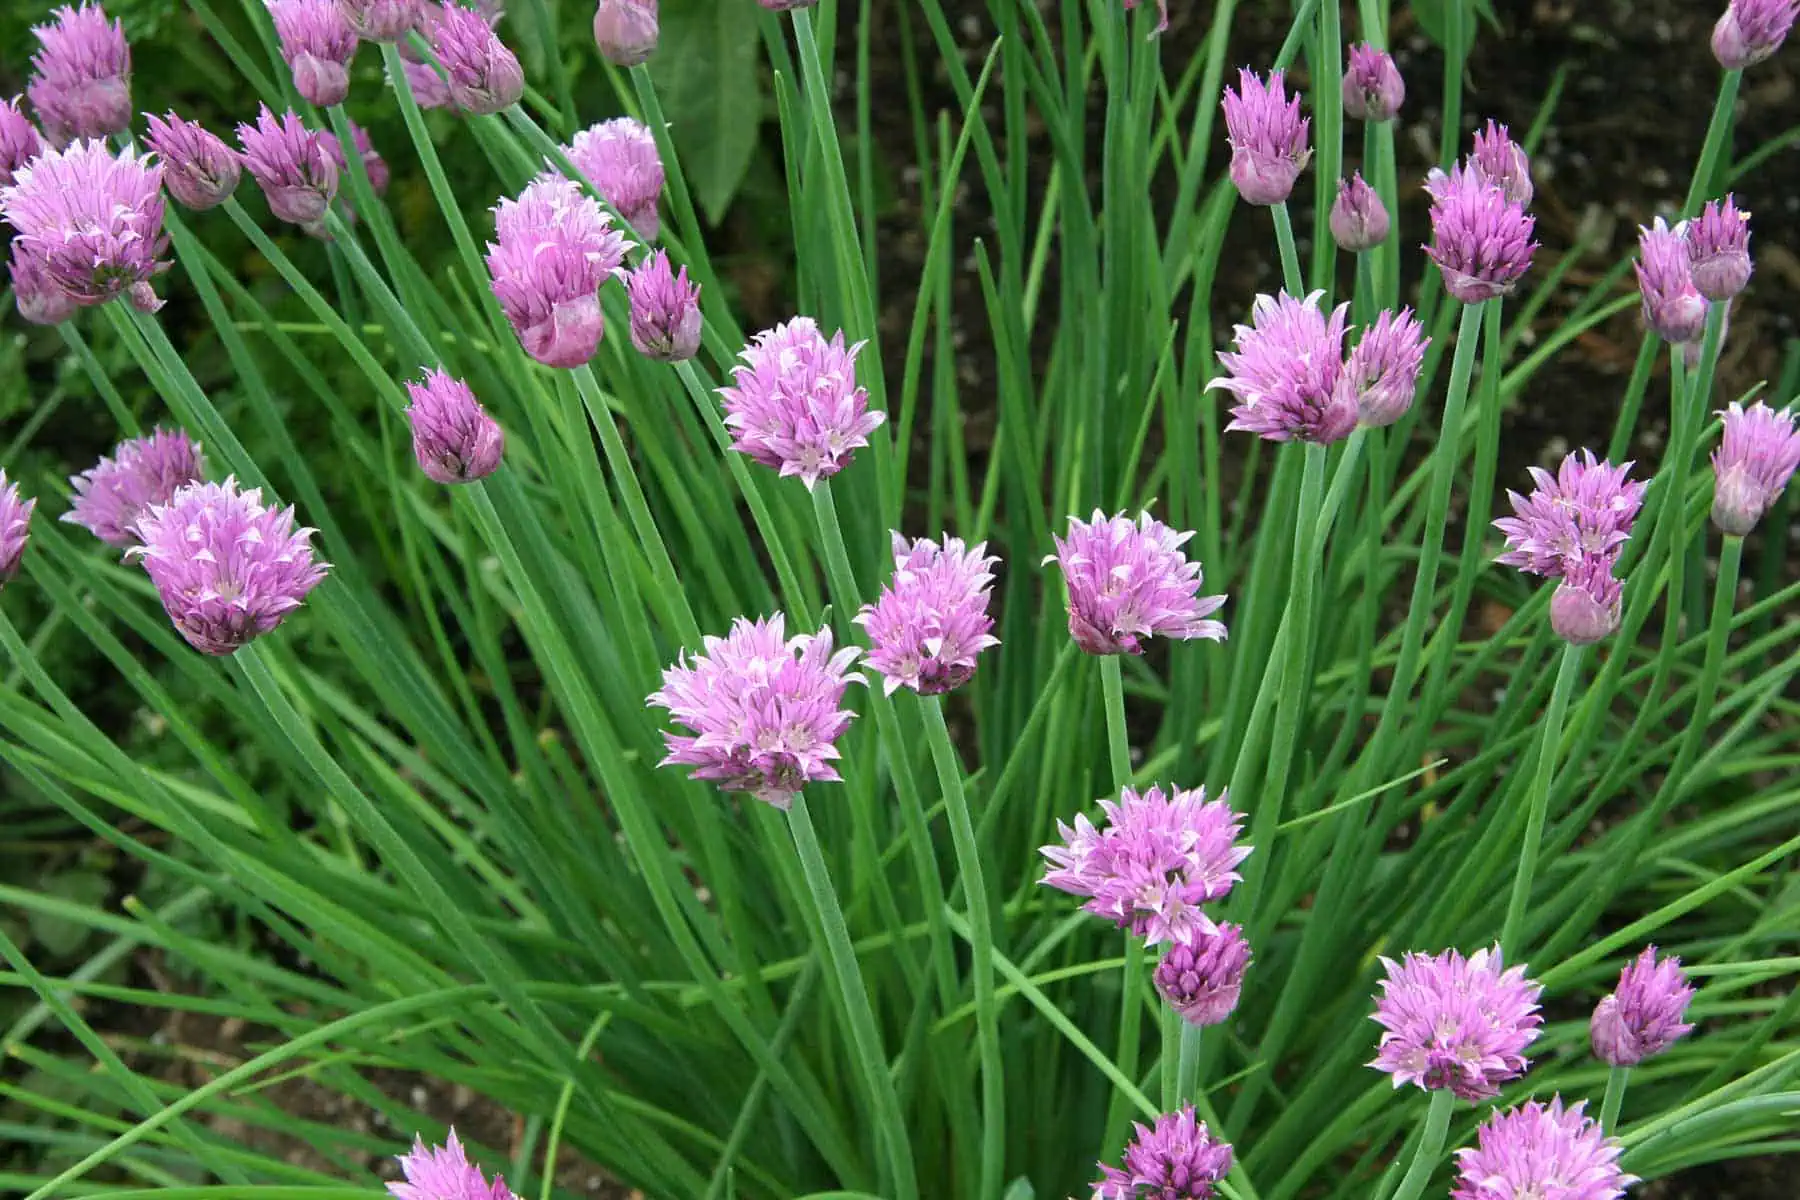
Chives are multipurpose, perennial herbs that serve as ornamental plants as well as spicing up cuisines.
The botanical name for common chives is Allium schoenoprasum, and they're members of the same plant family as onions, garlic, leeks, and shallots.
Their narrow, hollow leaves have a mild onion flavor, while their round purple flowers add an ornamental touch, making them surprisingly attractive in containers. The flowers are edible, too, and they're popular with pollinating insects.
Growing chives in pots is especially convenient if you don't have the luxury of garden space. You can keep a pot beside the kitchen door, on a balcony, patio, or sunny windowsill, and snip what you need whenever you're cooking.
So, how do you successfully grow chives in pots?
Let’s break it all down in eleven simple steps.
11 Steps on How to Grow Chives in Containers
Step 1: Choose the Right Container
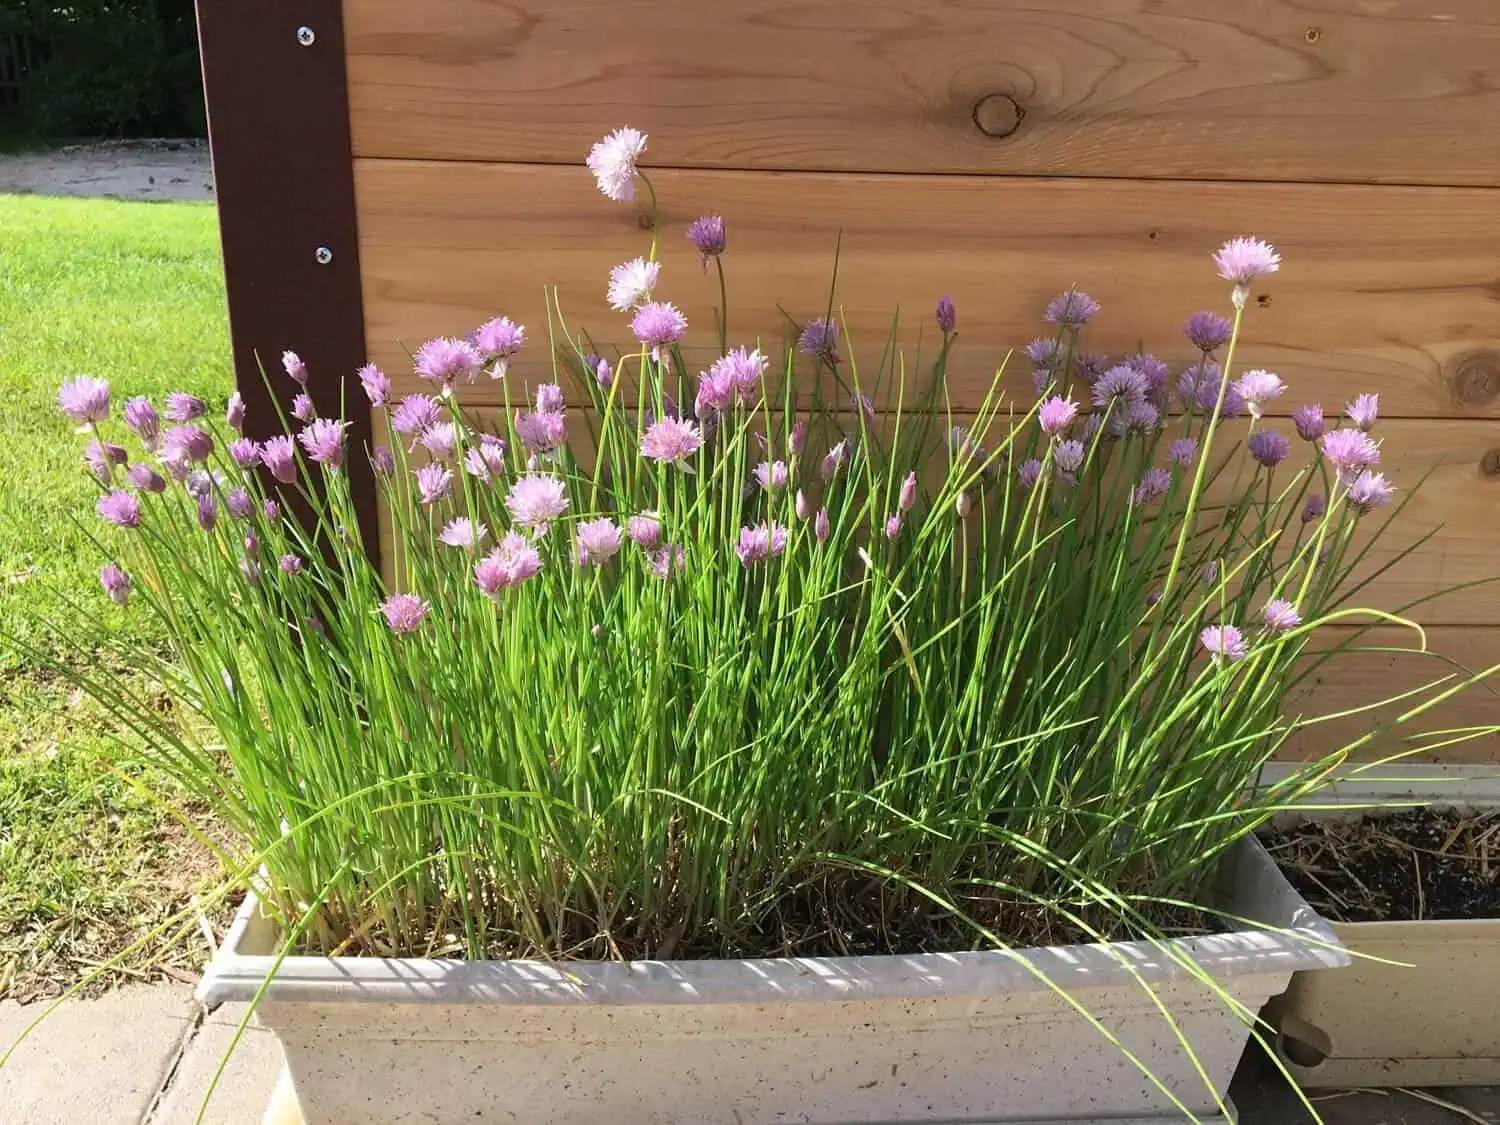
The first thing you'll need is a suitable container.
Chives don't need an enormous pot, but they do appreciate enough room to develop a healthy clump of roots and bulbs. For one established clump, a container at least 8 inches wide and 8 inches deep is a good starting point.
If you want to grow several plants together, choose a wider container so the clumps have room to spread (raised beds can be great alternatives for massive plantings).
The pot can be of any material, such as terracotta, plastic, ceramic, or fabric.
You just need to make sure the container has drainage holes at the bottom. This is particularly important because chives like consistent moisture, but their roots shouldn't sit in waterlogged compost.
Poor drainage can leave the roots short of oxygen and create conditions that encourage root problems.
Step 2: Fill the Pot with a Well-Draining Potting Mix
Once you've chosen your container, it's time to think about growing media.
I recommend using a quality potting mix designed for container growing rather than digging ordinary garden soil into the pot. Garden soil can become compacted in containers, which makes it harder for water and air to move through the root zone.
Chives prefer fertile, well-drained soil that's rich in organic matter. A good container mix should hold enough moisture to prevent the plant from drying out while still allowing excess water to drain away.
In case you want granular control, the soil pH should be between 6.0 and 7.0.
If your potting mix is already reasonably fertile, you won't need to go overboard with amendments. A modest amount of mature compost can help improve the growing medium, but don't turn the container into a dense, soggy compost bin.
Fill the pot while leaving a little space below the rim. This makes watering easier because you can apply water without immediately washing potting mix over the edge.
Before planting, water the mix thoroughly and allow excess water to drain from the bottom of the pot.
When it comes to drainage, I recommend that you check out these two guides:
Step 3: Decide Whether to Grow Chives from Seeds or Plants
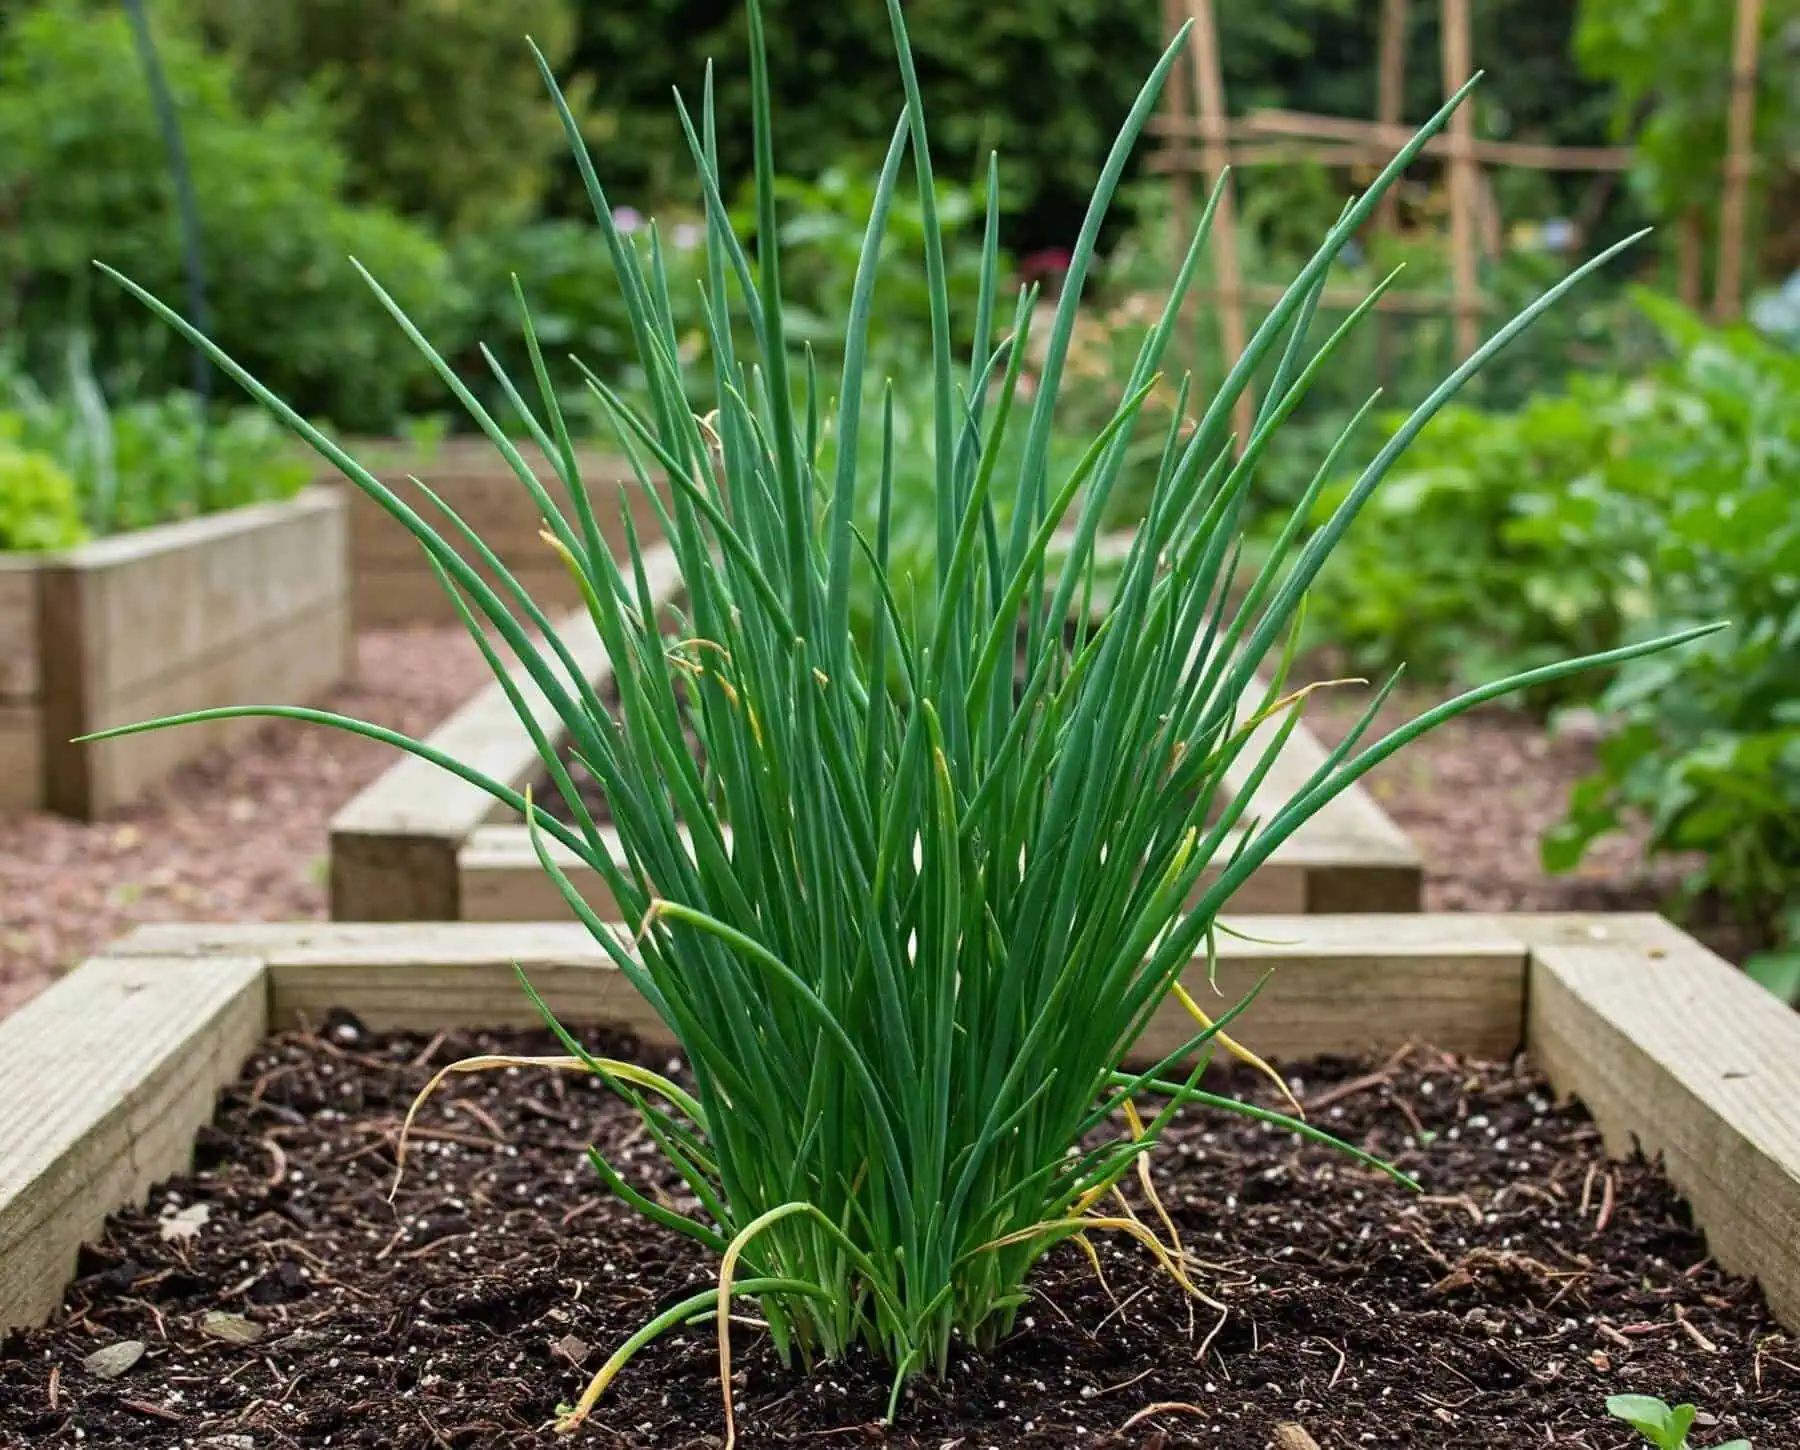
Photo: Easy to Grow Bulbs
At this point, you need to narrow down how you're going to start your chives.
You can grow chives from seed, but if you're looking for the quickest and easiest route to a harvest, buying a young potted plant is usually the better option.
Seedlings are readily and widely available in most plant nurseries and can be divided into several smaller clumps.
Alternatively, growing from seed is still perfectly possible.
Sow the seeds in spring, either directly into the container or in small pots or modules for later planting. It’s often recommended to sow chive seeds about 0.5 to 1 cm deep, or roughly ¼ to ½ inch.
If you're starting with a nursery plant, check it carefully before bringing it home. Look for vigorous green growth and avoid plants with widespread yellowing, severe wilting, or obvious signs of pests or disease.
There's another option that's often overlooked: division.
A large, established chive clump can be divided into smaller sections and replanted. This is an excellent way to multiply a plant you already have, and it also helps prevent older clumps from becoming overcrowded over time.
You can do plant division of established clumps every three or four years to maintain healthy, vigorous growth.
Step 4: Planting in the Container
When planting a nursery-grown chive, gently remove it from its original container and take a look at the roots.
If they're tightly circling the outside of the root ball, gently tease a few of them loose with your fingers. Make a hole in the potting mix that's roughly the same size as the root ball.
Place the plant in the container so that it sits at about the same depth it was growing before. Avoid burying the base of the plant deeply under the potting mix, as this can contribute to moisture-related problems.
If you're planting several chive clumps in one large container, give them adequate room to develop. To do this, space chive clumps at least 15 cm, or about 6 inches, apart.
Once the plant is positioned, gently firm the potting mix around the roots and water thoroughly, allowing the excess water to drain away.
So, what should you expect next?
The plant would appear a bit withered, but that’s normal. Otherwise referred to as transplanting shock, it may take a short while for the roots to settle into their new environment.
Step 5: Find the Best Spot for the Container
Chives grow well in full sun and can also tolerate partial shade. However, for strongest growth and best harvests, aim for a location that receives plenty of sunlight.
A sunny patio or balcony can work as well.
You can also grow chives indoors in a bright, sunny location. If you're growing them on a windowsill, give the plant as much natural light as you can. Indoor plants may grow more slowly when light levels drop significantly during winter.
One thing to keep in mind is that container plants can experience temperature extremes more quickly than plants growing in the ground. The potting mix may heat up and dry out faster in direct afternoon sun, particularly in hot climates.
If your chives are struggling during periods of intense heat, moving the container to a location with bright light and some afternoon protection can help reduce stress.
Step 6: Watering and frequency
When it comes to watering, there are two groups of plant parents.
The first group waters too often because they're afraid their plants will wilt. The other one forgets about their pots until the leaves are drooping.
Chives prefer a middle ground.
In practice, check the potting mix regularly by feeling the surface with your finger. When the upper layer begins to dry, water thoroughly until you see excess water draining from the bottom of the container.
Then allow the excess water to drain away. If your pot is sitting in a saucer, don't leave it standing in a pool of water for long periods.
The frequency you'll need to water depends on several factors, including pot size, temperature, wind, sunlight, and the type of potting mix you're using. A small pot in hot, windy weather might need water much more frequently than a larger container in mild weather.
Newly planted chives need particular attention while they're getting established. Once the plant has developed a stronger root system, it becomes easier to manage, but container-grown plants will still dry out faster than those growing in the ground.
Here’s how to properly water potted plants.
Step 7: Feed Your Chives with Appropriate Fertilizers
Chives aren't especially demanding feeders, but plants growing in containers have a limited supply of nutrients.
Every time you water, a small amount of nutrients can be lost through drainage. Over time, that can leave a heavily harvested container plant running short of the nutrients it needs to maintain vigorous growth.
If you're using a good-quality potting mix containing nutrients, you may not need to fertilize immediately after planting. As the growing season progresses, however, an occasional application of a balanced fertilizer can help support continued growth.
Follow the instructions on the fertilizer label rather than assuming more fertilizer means more chives.
It doesn't.
Overfertilizing can lead to excessive soft growth and may damage the roots.
If you regularly harvest your chives and the new growth becomes noticeably weak or pale, nutrition may be one of several factors worth checking. Before reaching for fertilizer, though, make sure the plant is receiving adequate light and water
Here’s a list of the best slow-release fertilizers for flowers.
Step 8: Harvesting
You don't have to wait for the plant to produce one giant harvest. Instead, you can snip a few leaves whenever you need them.
Use clean scissors to cut the leaves close to the base of the plant.
Try not to strip the entire plant bare every time you harvest. Leaving enough healthy foliage allows the plant to continue photosynthesizing and producing new growth.
Regular harvesting is actually part of good chive care since frequent cutting encourages fresh leaves.
Besides, chives are best when used fresh. Their delicate onion flavor works beautifully in salads, potatoes, eggs, soups, sauces, dips, and cream cheese. They're also excellent scattered over a finished dish just before serving.
If you want to preserve your harvest, freezing is a practical option.
Step 9: Harvesting Chive Flowers
At some point, your chives may surprise you with round purple flower heads rising above the foliage.
They're beautiful, edible, and useful to pollinators, so there's no need to panic when your chives flower. In fact, letting some plants bloom can make a container herb garden much more attractive.
The flowers have a mild onion flavor and can be pulled apart into individual florets and sprinkled over salads and other dishes.
Once flowering is finished, you can cut the spent flower stalks back to the base. This keeps the plant looking tidy and prevents it from putting energy into seed production if you don't want seedlings appearing around the container.
If you want your chives to self-seed, you can leave some flowers to mature and drop their seeds. Otherwise, removing the spent flower stalks is a simple way to keep the plant neat.
Step 10: Refresh Overcrowded Chive Plants
Chives are perennial, and an established plant can remain productive for years.
But there's a catch. Over time, the clump can become crowded. You may notice that the plant isn't producing as strongly as it once did, or that the container has become a dense mass of roots and bulbs.
That's when division becomes useful.
Carefully remove the established clump from its container and gently separate it into smaller sections. Each division should contain healthy roots and several shoots. Replant the divisions into fresh potting mix and water them thoroughly.
Step 11: Watch for Common Chive Problems
Chives are generally robust plants, but they're not completely immune to problems.
Aphids are one pest to watch for. These tiny sap-sucking insects can gather around tender new growth and weaken plants when populations become large.
Start by inspecting your chives regularly. Catching a problem early is much easier than dealing with a heavily infested plant.
Chives can also be affected by leek rust, a fungal disease that can cause distinctive orange raised spots on the foliage.
Good growing conditions go a long way toward preventing trouble. Avoid keeping the foliage constantly wet, provide adequate air circulation, and remove severely affected plant material when necessary.
Conclusion
You’ve just read the steps required to grow chives in pots. The next step is for you to implement them at home.
And while I’ll always endeavor to share all the information to the best of my knowledge, I understand we can’t cover everything. Some of the things you’ll encounter only through practice.
If you found this guide helpful, share it with a friend who'd love to grow fresh herbs at home. You can also share it on Facebook and Pinterest to help other container gardeners discover how easy it is to grow chives in pots.
Sources and Further Reading
- University of Minnesota Extension, Growing chives in home gardens
- Royal Horticultural Society, How to Grow Chives