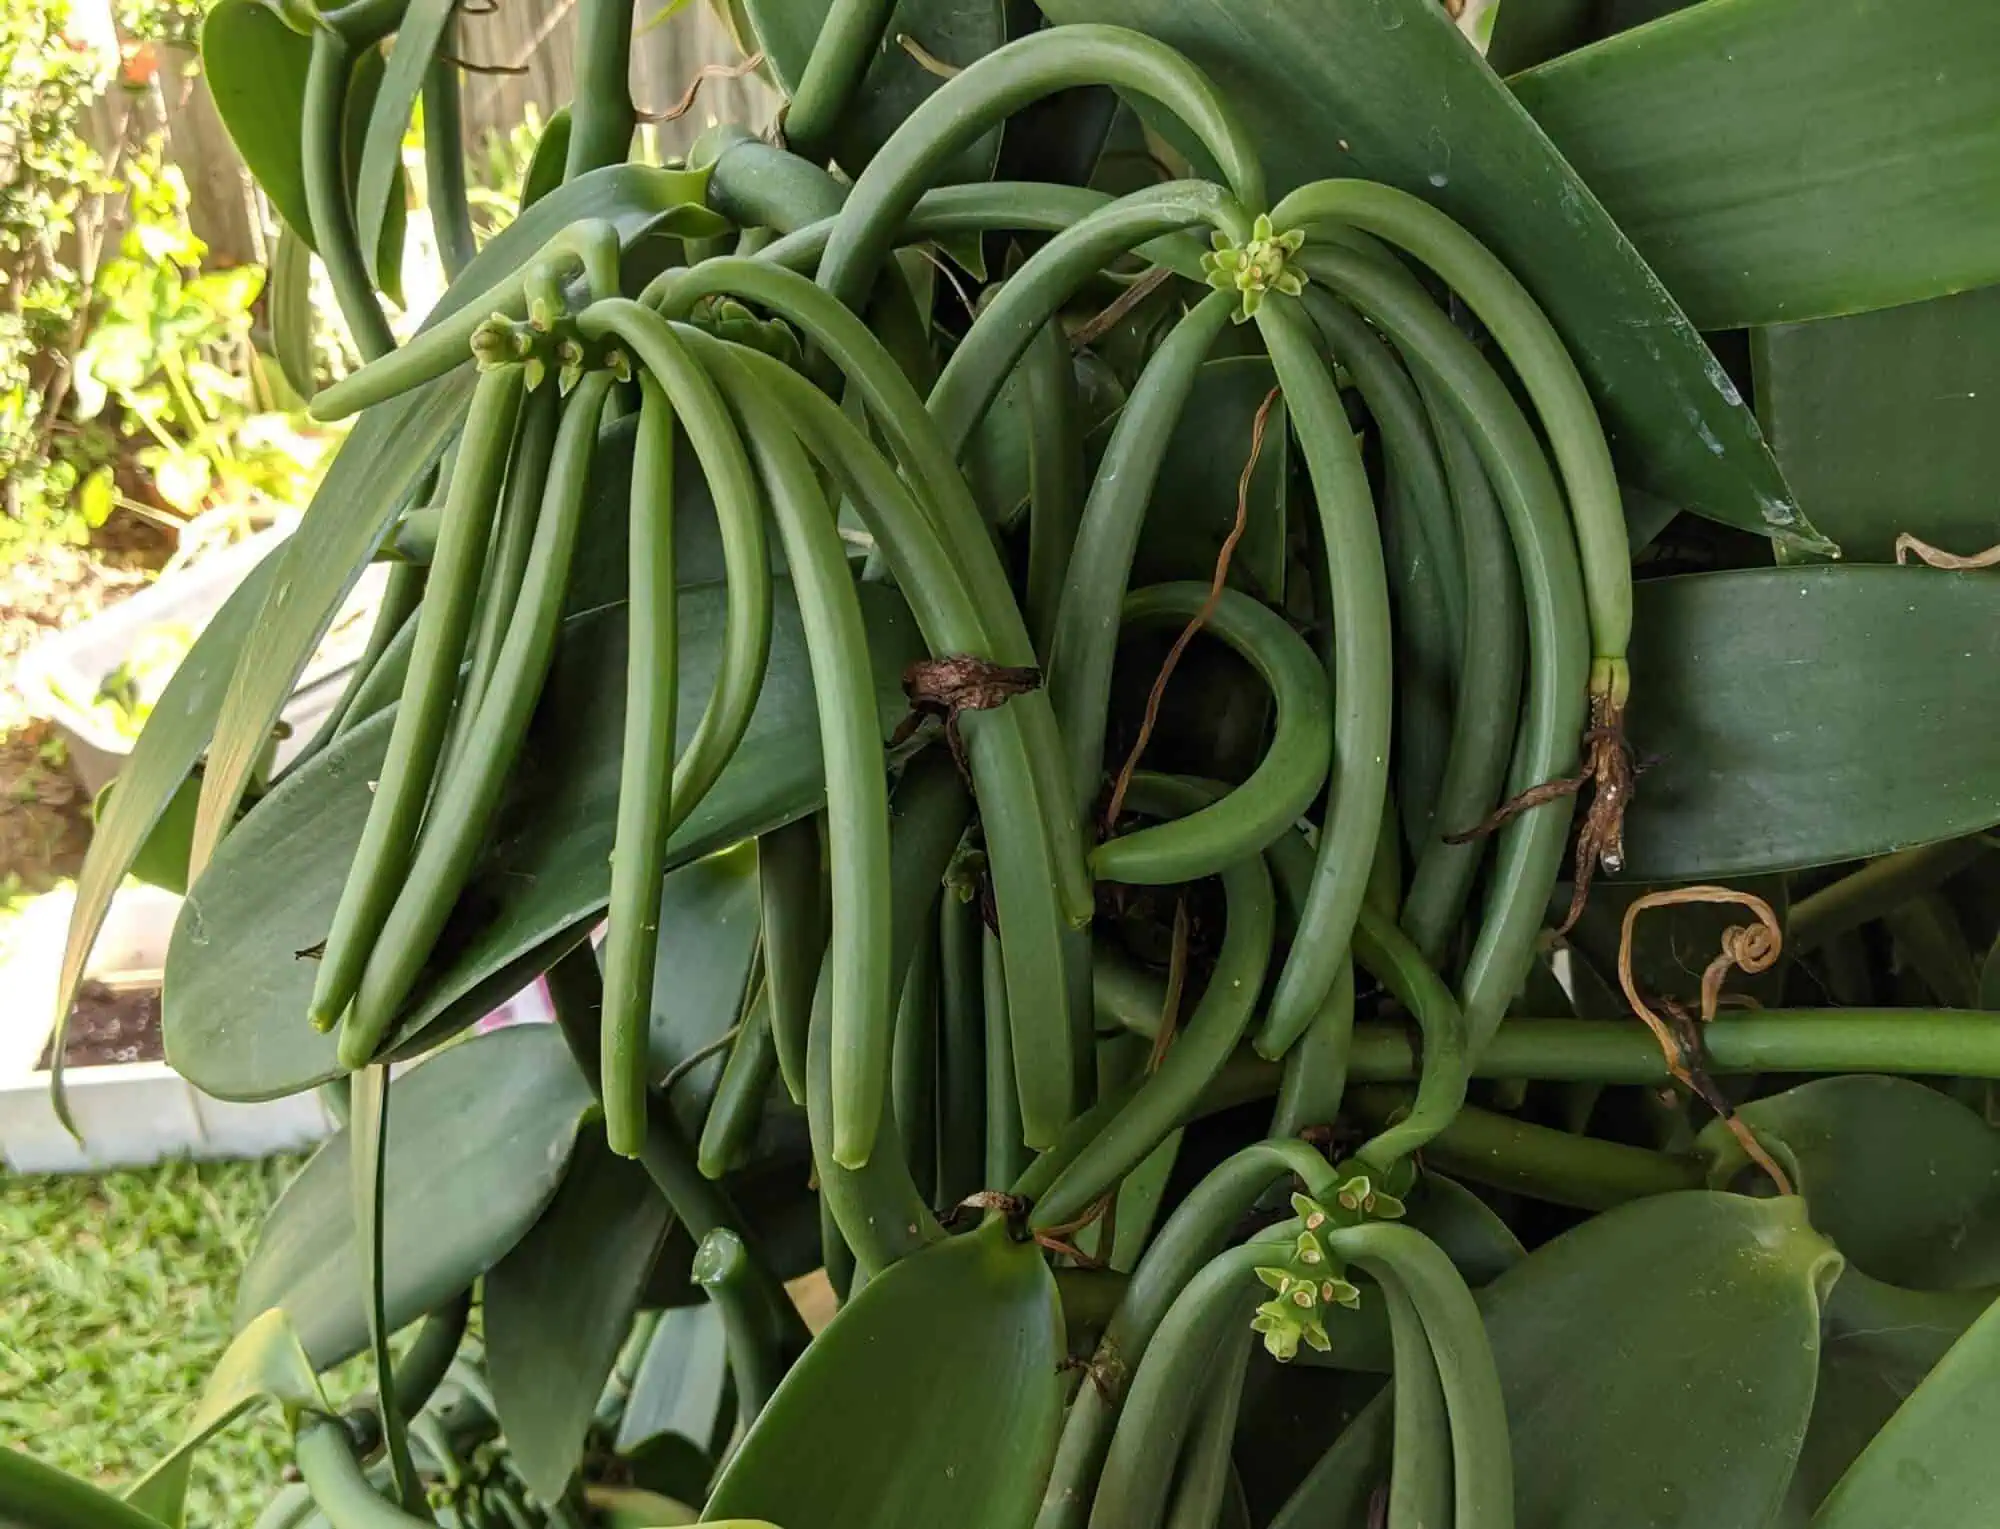
The common vanilla bean comes from a climbing orchid, Vanilla planifolia, which produces long green pods after its flowers have been successfully pollinated.
If you’re interested, here’s a complete chart of different orchid types and where vanilla falls.
Growing one at home is possible, but vanilla needs a very different environment from the herbs and vegetables most gardeners are used to.
The good news is that we’ll discuss everything you need to know about growing vanilla beans successfully at home.
11 Easy Tips & Tricks for Growing Vanilla Beans at Home
Planting Healthy Cuttings
Vanilla is usually propagated from stem cuttings because growing it from seed is slow and difficult. A good cutting should have several healthy leaves and multiple nodes, with no obvious signs of rot, damage, or disease.
Established cuttings have an advantage because they can reach flowering size sooner. Under good conditions, such a cutting can take roughly two to three years to flower, while smaller cuttings may take longer.
If you've bought a fresh cutting, let the cut end dry for a day or two before planting. This gives the wound time to seal and can reduce the risk of rot.
Growing location
The vanilla bean plant is native to the tropics and as such it needs warmth to grow optimally. Temperatures around 18 to 30°C is ideal, with protection needed when conditions become colder.
If you live somewhere tropical or subtropical, vanilla can be grown outdoors quite happily. In cooler climates, you'll need a warm greenhouse, conservatory, or similarly protected space.
Humidity is also essential, particularly when the plant is actively growing. Vanilla likes moist air. However, there has to be a balance between the humidity and air circulation.
This is because constant wet conditions can encourage fungal and bacterial problems.
Ideal light conditions
Vanilla grows naturally among other vegetation, so it isn't looking for the kind of blazing, all-day exposure that a tomato might enjoy.
Give it plenty of bright light, but protect it from harsh midday sun. A position with filtered sunlight, such as beneath light tree cover or shade cloth, is often ideal.
Too much direct sun can scorch the leaves. Too little light, on the other hand, can leave you with a weak, stretched vine that struggles to flower.
Growing media for the vanilla plant
If you're growing your vanilla in the ground, choose a location with rich, organic soil and excellent drainage. Preferably, mix the soil with plenty of organic matter especially if the soil is heavy or compacted.
A container can also work very well, particularly where you need more control over drainage or want to grow the plant in a greenhouse or indoors. An orchid-style mix based on bark and other airy materials is a good option.
Whichever method you choose, the principle is the same: the roots should have access to moisture and air at the same time.
Supporting the vanilla plant vine
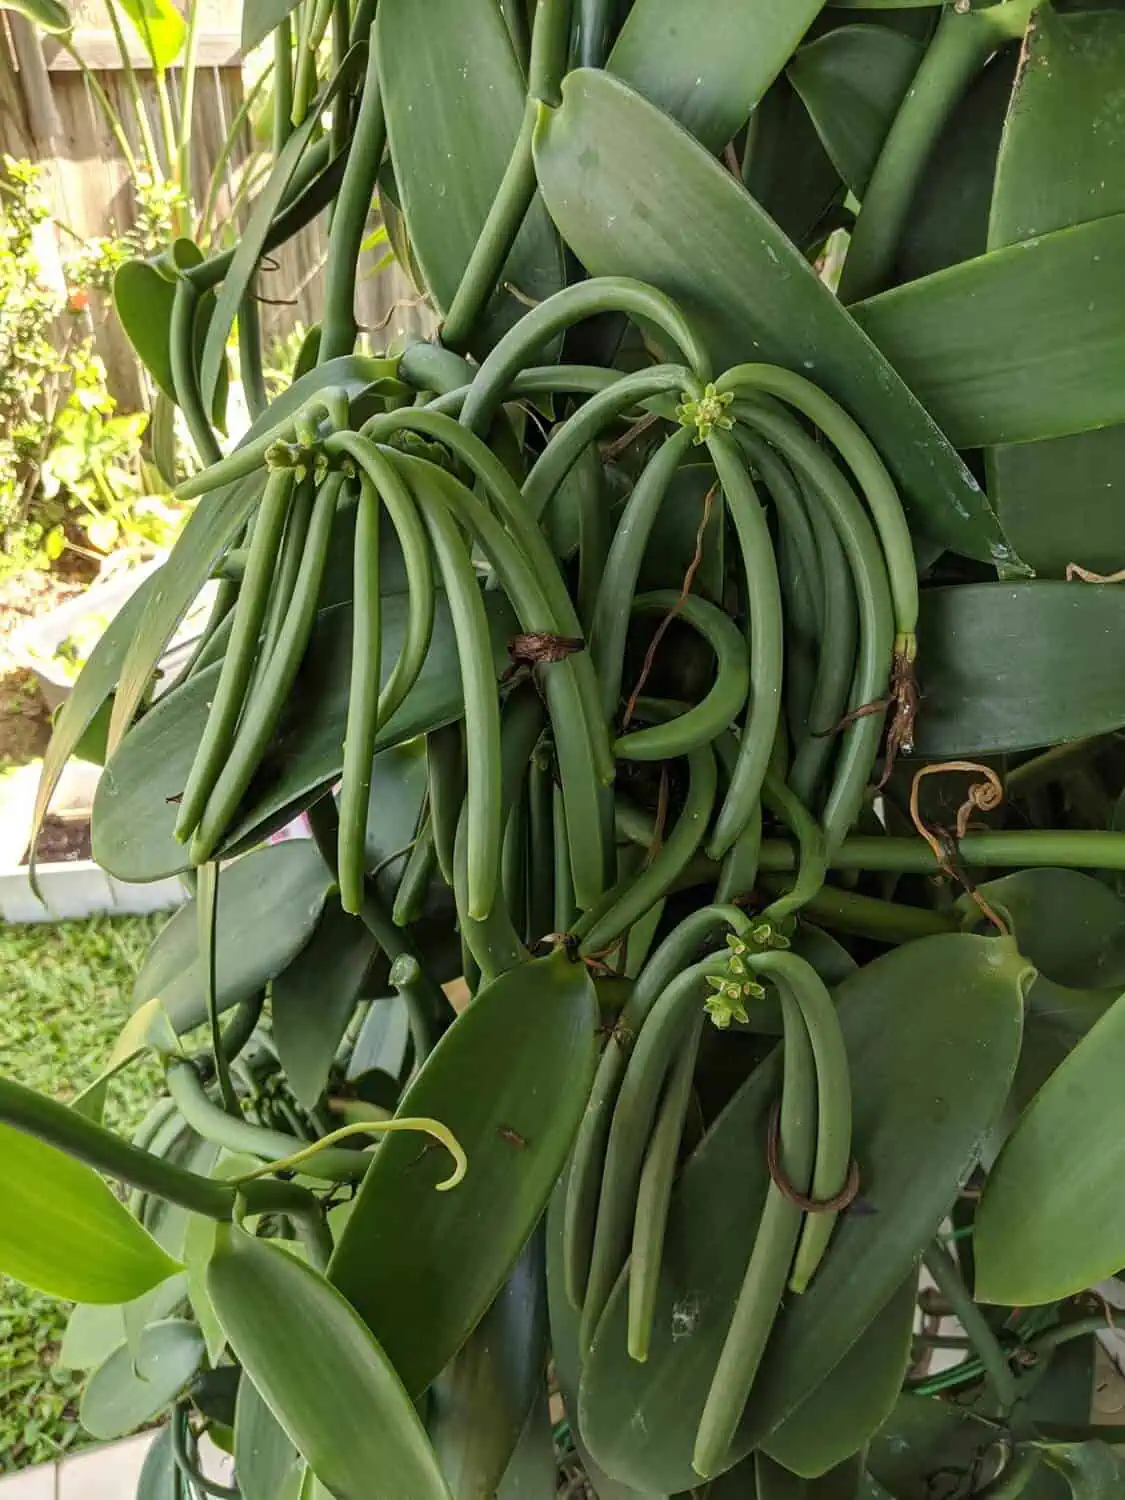
Vanilla is a climber, and it can become surprisingly vigorous once established.
Give it a sturdy support from the beginning. A trellis, post, tree or other suitable structure can work, provided the plant has plenty of room to climb.
Don't wait until you've got several meters of tangled vine before installing one.
As the stems grow, gently train them around the support. Allowing the vine to loop or hang downward can also make it easier to manage later, especially when you need to inspect the flowers.
The ability to access the flowers is a non-negotiable requirement because vanilla flowers have to be hand-pollinated (discussed later) in most places where the plant is grown at home, so you don't want your flowering vine somewhere you can't reach.
Best watering practices
Water when the growing medium starts to dry, then allow excess water to drain away. How often you'll need to water depends on your climate, the season, the size of the plant and whether it's growing in the ground or a container.
The mistake to avoid is watering by the calendar.
A plant sitting in a humid greenhouse won't have the same needs as one growing outdoors in hot, dry weather. Check the growing medium and watch the plant instead.
If the roots remain constantly wet, they can become damaged, and the plant becomes much more vulnerable to rot.
Fertilizer application during active growing phase
A healthy vanilla vine needs nutrients to grow vegetatively, flower, and reproduce enough beans.
A balanced fertilizer applied during active growth can help, particularly when the plant is growing in a container where nutrients are limited.
Follow the fertilizer's instructions rather than assuming more will make the vine grow faster.
Deflowering when necessary
This is where growing vanilla differs from growing most crops. A young vine may take years producing leaves and lengthening its stems before it flowers.
That’s because vanilla generally needs a large, mature vine before producing flowers.
Therefore, a lack of flowers the first year of growth is not only normal, but it should be encouraged. You can do this by removing any small accidental flowers to help build more foliage – a process known as deflowering.
Learn How to Pollinate the Flowers
Assuming the plant has built sufficient energy reserves in the foliage, you can now allow the flowers to form but stop there.
You'll need to pollinate them by hand because the natural pollinators aren't always present in most home-growing situations. It’s worth noting that vanilla flowers are short-lived, usually opening for only a single day, and therefore you have to act fast.
The basic technique involves the following:
A small flap called the rostellum separates the pollen from the stigma. Using a toothpick or similar clean tool, gently move the rostellum aside and press the pollen onto the stigma.
Pollinate newly opened flowers in the morning, preferably as early as possible. The flower has only a limited window in which it can be successfully fertilized.
Once you've done it, leave the flower alone.
If pollination succeeds, the flower should remain attached, and the little fruit behind it will begin to swell.
Vanilla pod development
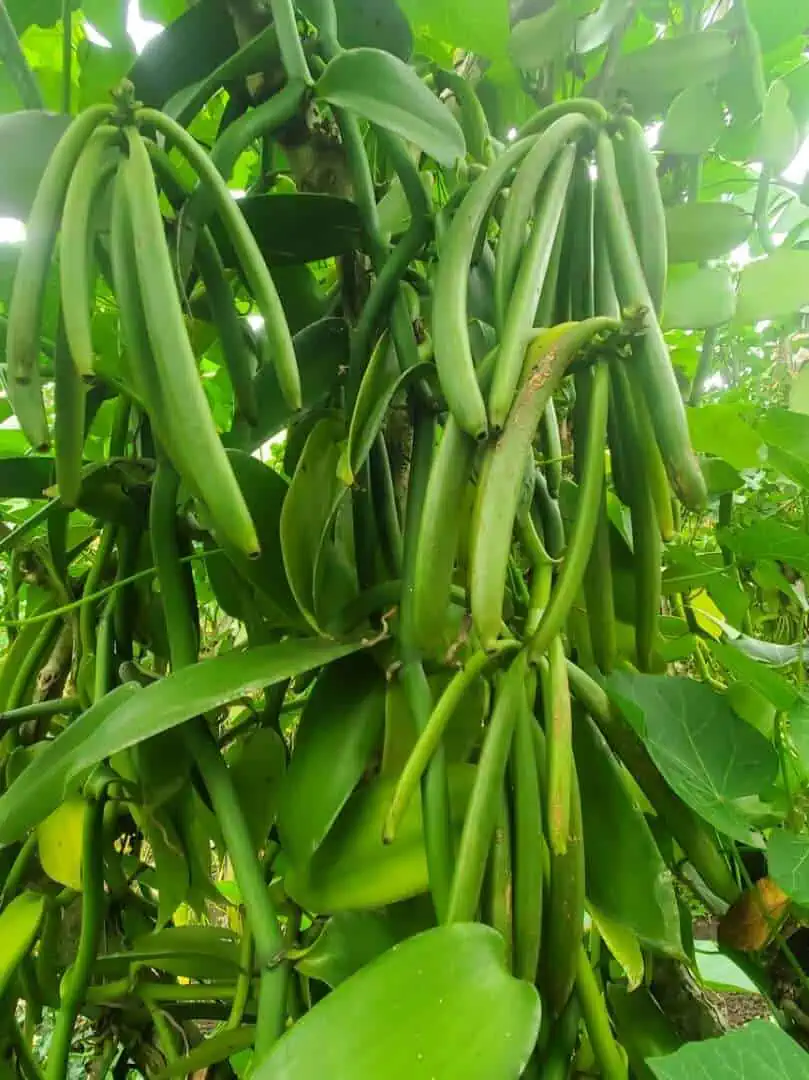
A successfully pollinated pod takes around eight to nine months to mature. During that period, keep the plant growing well and avoid unnecessary stress.
Don't pick the pods just because they've become large.
Vanilla is usually harvested while the pods are still green but mature, before they begin splitting open. Harvesting too early can reduce the quality of the finished product.
Harvest and Cure the Vanilla Beans
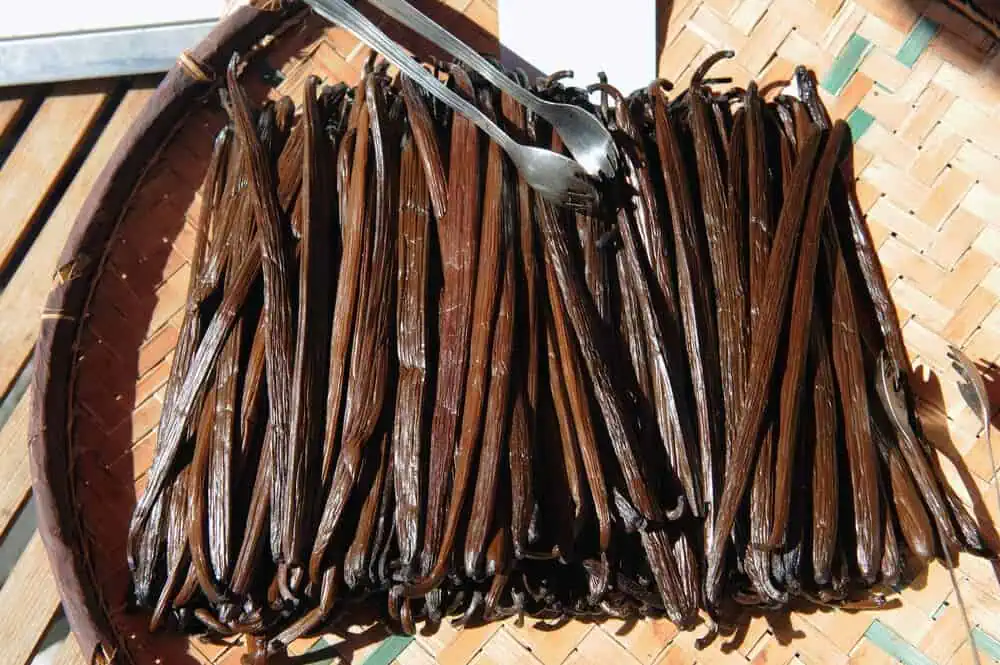
It's easy to forget how much work has already gone into one pod by this point. The vine took years to mature, the flower lasted one day, and the fruit (bean pod) took most of another year.
Freshly harvested vanilla pods aren't the dark, fragrant beans you buy from a shop.
They still need to be cured.
Traditional curing involves several stages, including heating or "killing," sweating, drying, and conditioning. During this process, the compounds inside the green pods change and produce the familiar vanilla aroma and flavor.
This is why a homegrown green pod won't necessarily smell strongly of vanilla when you first cut it from the plant.
Curing is a separate skill in its own right, and it's worth treating it that way. If you only grow a few pods, take the time to learn a small-batch curing method before harvesting rather than improvising afterward.
Conclusion
Vanilla is one of the few plants I’ve found a lot of satisfaction growing. For one, the vine is a gorgeous ornamental plant, followed by striking yellow leaves, before you get the most breathtaking vanilla beans.
Suffice it to say, even though it takes some years to get the final product in your kitchen, it doesn’t feel that way at all.
And I want that for you, too. Browse through these easy tips on how to grow vanilla beans and get to work!
While at it, share this guide on Facebook or Pinterest with anyone who's looking to grow their own vanilla.
A few years from now, they may be opening a jar of homemade vanilla and remembering where the journey started.