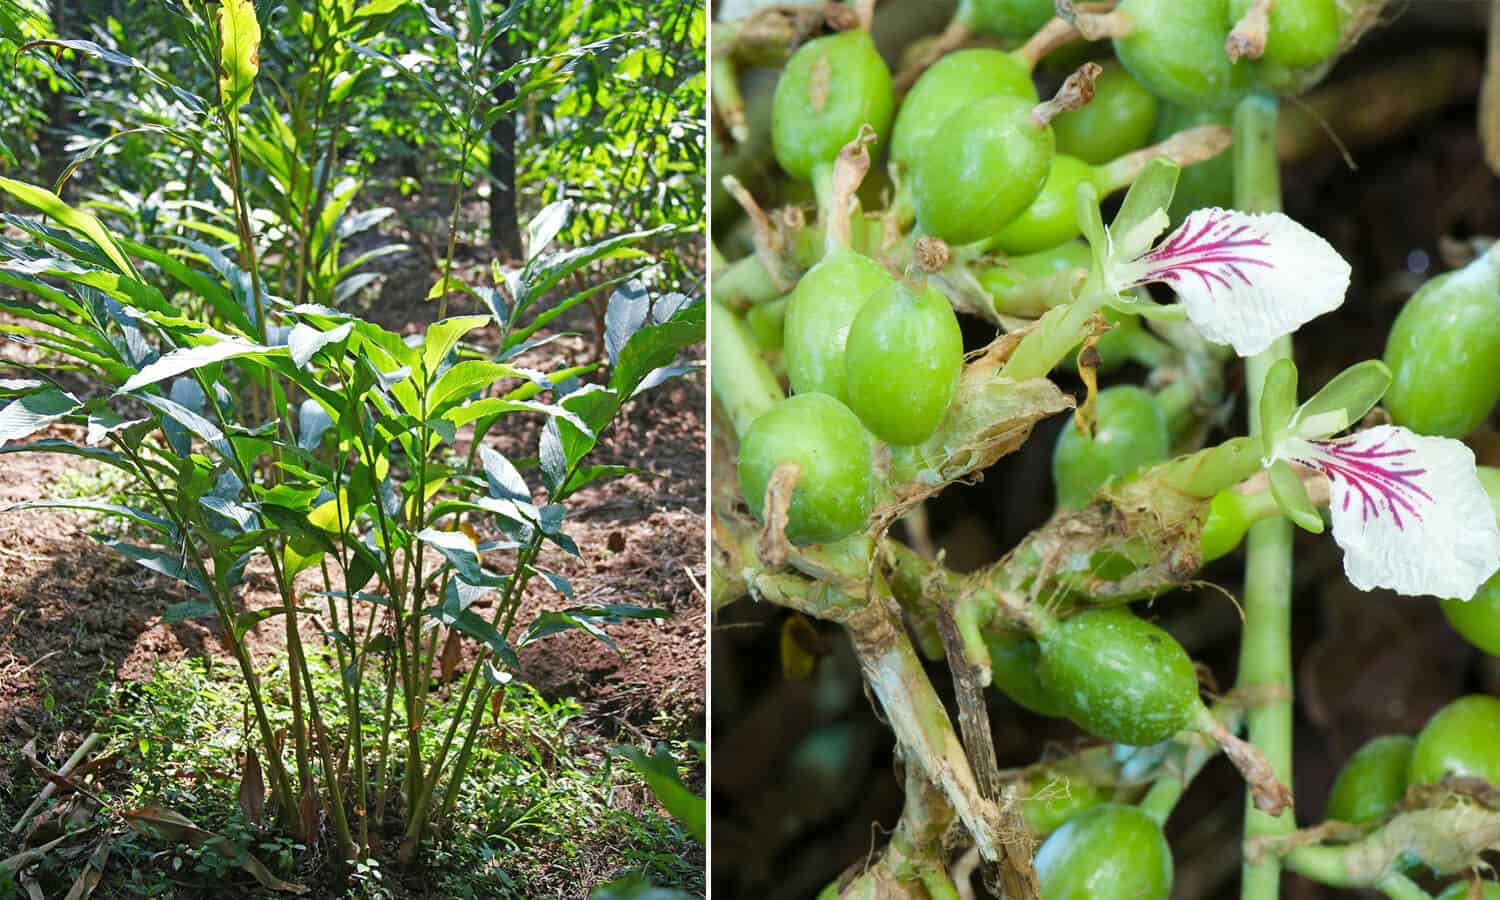
Also known as green or true cardamom, Elettaria cardamomum is an herbaceous, perennial plant in the ginger family, originally from Indonesia and the Indian Subcontinent.
It’s one of the most common species whose seeds are used as an aromatic spice (cardamom) in both savory and sweet cooking, as a masticatory, or smoked.
In Nordic countries such as Sweden, Norway, and Finland, cardamom is used in baking traditional treats including the Swedish sweet bun, Scandinavian Yule bread, and Finnish sweet bread pulla. In the Middle East, green cardamom powder is used in sweet dishes and as a traditional flavor in coffee and tea.
Additionally, in Asia, both green and black cardamoms are widely used in Indian and Nepali masalas, Thai curry pastes, and Yemeni hawaij.
And with those different uses, it has become one of the most expensive spices by weight in the world.
This then brings me to my topic of the day: “How to Grow a Cardamom Plant at Home”. After years of buying cardamom powder from supermarkets and spice outlets, I decided to learn how to grow my own at home.
I won’t lie, it wasn't a perfect hit at first, but after several trials and errors, I succeeded in producing quality home-grown cardamom.
So, in this article, I’m going to share a simplified guide to growing cardamom plants. From seeding, care, harvesting, and storage.
By the end of it, I believe our efforts together will save you a few dollars and trips to the food store, just like I did.
How to Grow Cardamom in Containers at Home: A Complete Beginner's Guide
Source and Prepare the Seeds
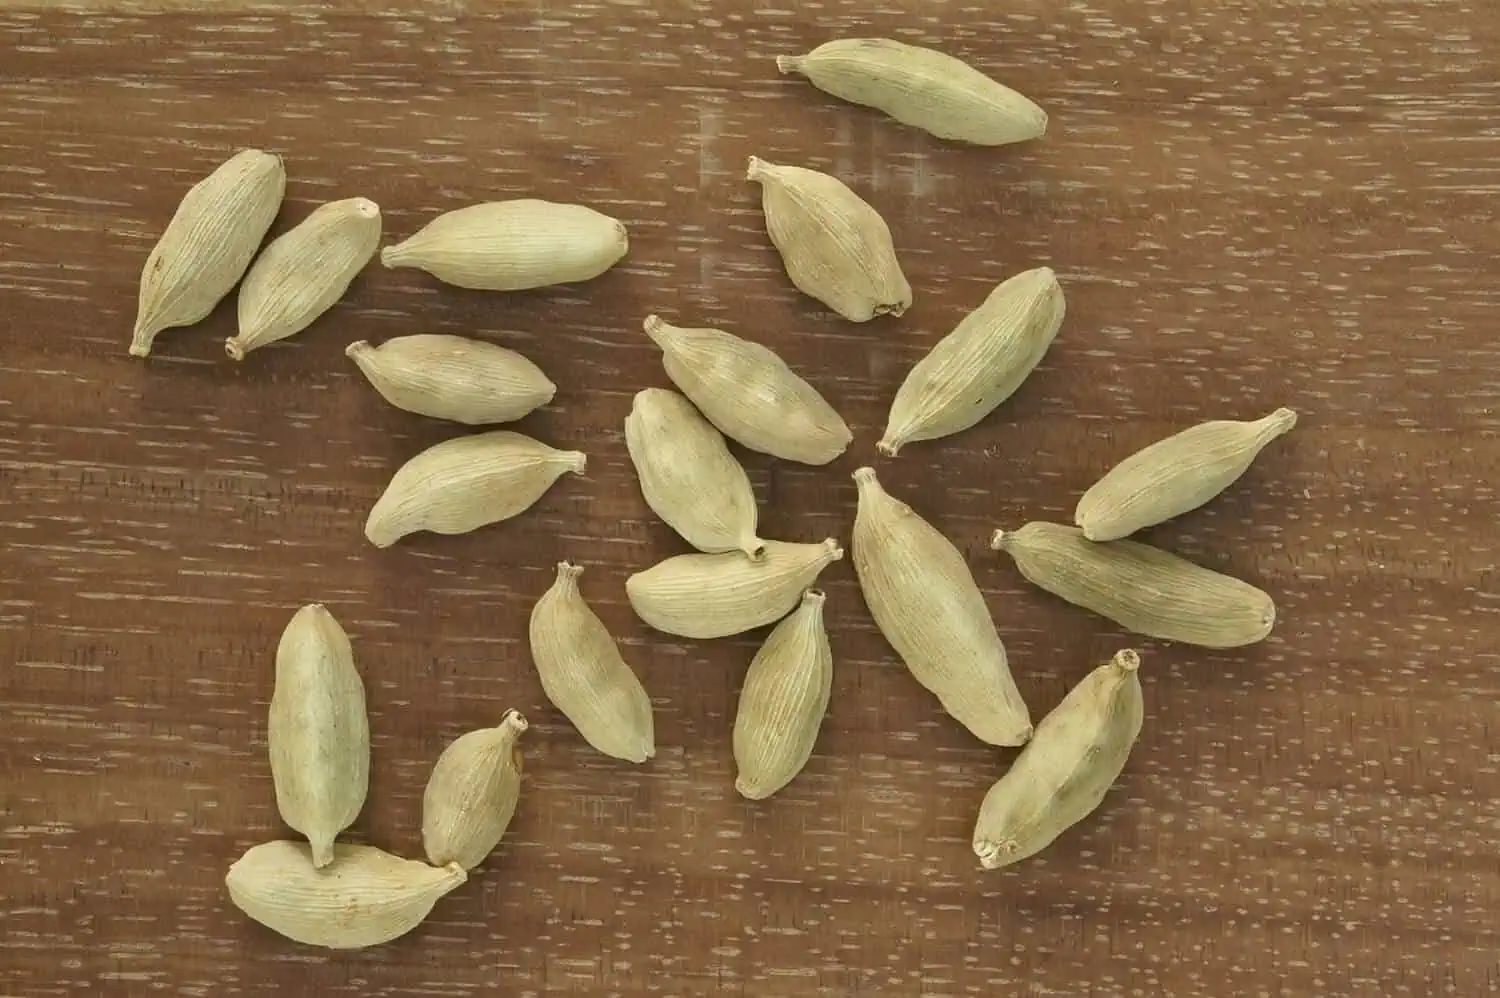
This is the first stage of growing cardamom in pots. Use fresh green cardamom pods rather than the dried ones from the grocery store. Seeds from fresh, green cardamom pods sprout faster since their skin isn’t as hard as that of dry ones.
After that, extract the seeds by opening the pods and taking out the sticky, dark seeds.
Then soak the seeds in warm water for 12 hours to soften the hard outer shell. Next, place the seeds approximately 1 cm deep and cover them lightly with soil.
Mist daily and keep the container in a warm, humid, and shady spot. In about 20 to 40 days, the sprouts start to appear.
Pick the Right Pot and Soil
If you want to grow cardamom in containers, choose a container that's at least ten inches deep, since cardamom's root system fills out a pot faster than you'd expect. Whatever you choose, make sure it has solid drainage holes.
Cardamom plants like consistent moisture but hate sitting in a swamp, and soggy roots are one of the fastest ways to lose this plant.
As for soil/growing medium, go with a well-draining potting mix that's rich in organic matter, ideally sitting somewhere between slightly acidic and neutral.
You don't need to obsess over exact pH numbers with a testing kit so long as you have a quality potting mix formulated for tropical plants; you're good to go.
Remember to add a layer of drainage material below the pot to avoid root rot from excess water around the rhizome.
Light and Temperature Requirements
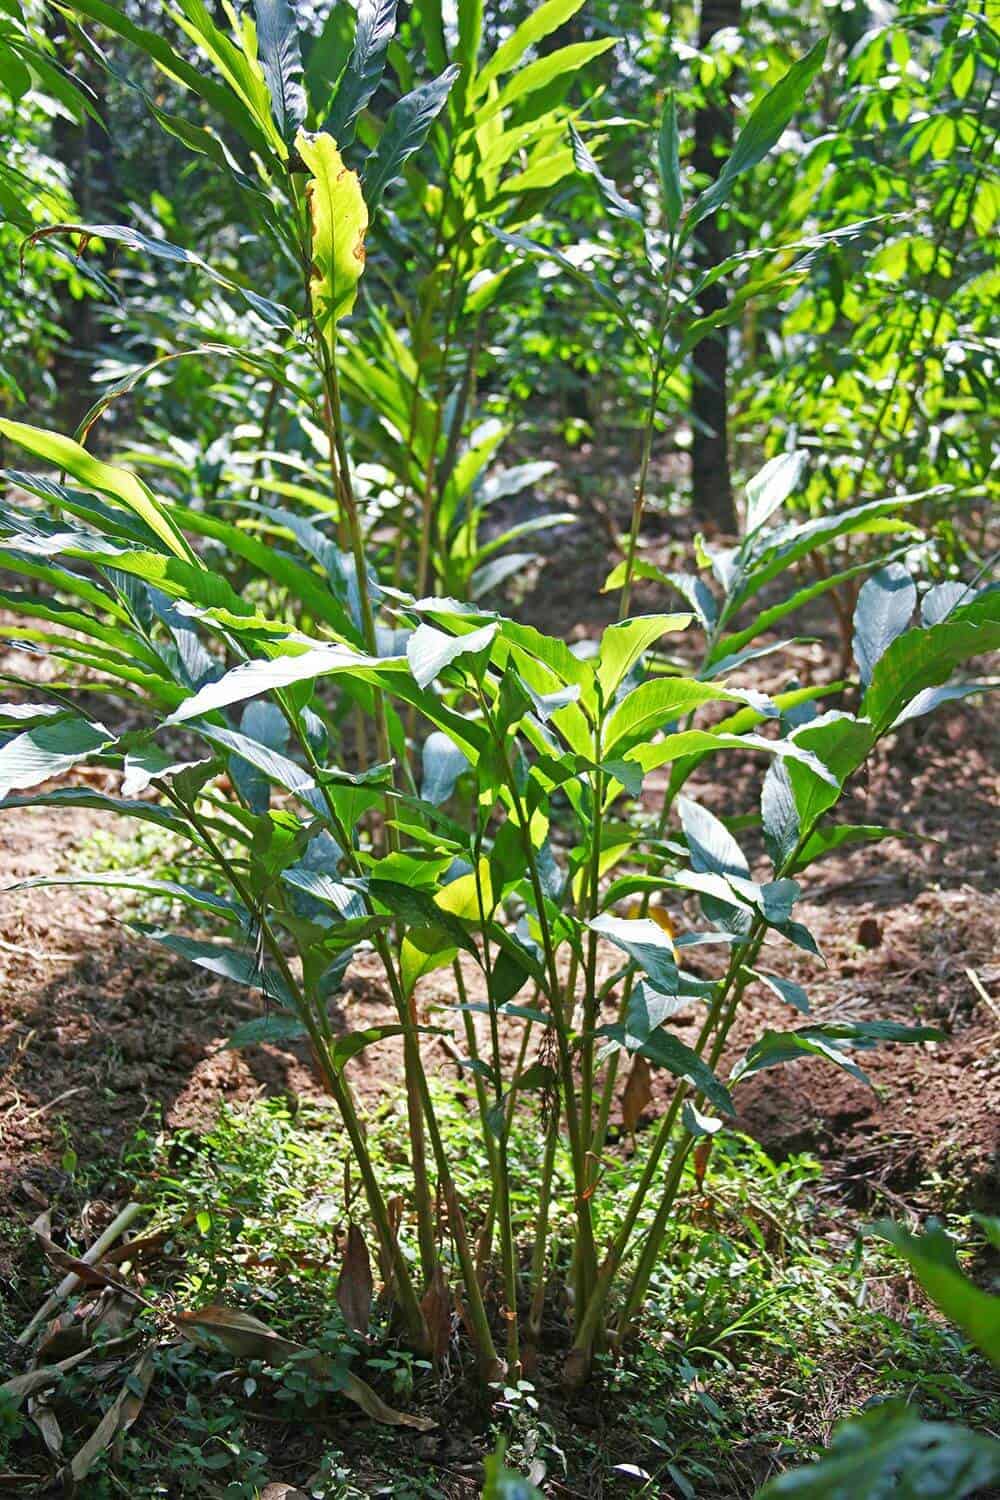
Photo: Getty Images
Cardamom prefers bright, indirect light. Remember, this plant evolved growing under a forest canopy, so direct sun can scorch its leaves rather than help it thrive.
Therefore, an east- or west-facing window tends to work well as the plant gets a few hours of gentler morning or afternoon light.
If your home doesn't have a bright enough spot, a simple LED grow light placed a foot or two above the plant will fill in the gap nicely, especially through the darker winter months.
Always pay attention to the leaves’ appearance in general, as this is the only way your plants communicate.
For instance, pale or leggy growth typically indicates that the plant needs more light, while scorched, crispy edges suggest that the light is too intense. Then adjust the light accordingly to have a healthy-growing plant.
As for temperature, maintain it between 65°F and 85°F (18°C to 29°C) indoors and keep the plant away from cold drafts and air conditioner vents.
Maintain the right Humidity Levels
If there's one challenge with indoor-grown cardamom, it's humidity. The ideal humidity levels are between 50 and 80 percent.
But in most homes, especially during winter with the heaters running, the levels may reach 30 or 40 percent. This difference is enough to make your indoor cardamom struggle.
There are, however, a few fixes to this. For example, fill a wide, shallow dish with pebbles, add water just below the surface to form a pebble tray, and set your pot on top.
As the water evaporates, it humidifies the air right around your plant.
It’s a simple, cost-effective way to humidify your indoor plants and works just as effectively as any other humidifier.
If you want something more hands-off, a small cool-mist humidifier placed near the plant will hold a steady humidity level without you having to think about it.
Also, group your cardamom with other moisture-loving indoor plants like ginger or lemongrass to create a shared humid pocket as they release water vapor into the environment.
This way, you increase efficiency since the humidifier has less area to cover within a short time.
Whichever method you pick, a cheap hygrometer is worth having around so you're not just guessing.
Watering
Watering an indoor cardamom plant follows a simple rule. And that is to keep the soil consistently moist, but letting the very top layer dry out slightly before you water again.
Always aim for damp, not soaked and not bone-dry, which usually means watering every two to three days in warmer months and easing off during the cooler ones.
But during winter, you might notice a slower growth rate with less water intake; that's normal.
This is the stage where you ease up on watering and skip the fertilizer until the plant perks back up in spring.
Fertilizer Application
A balanced, water-soluble fertilizer applied two to three times a month during the growing season keeps cardamom fed without overwhelming it.
If you'd rather set it and forget it, a slow-release granular fertilizer added every few months does the job just as well.
Skip fertilizing entirely during the plant's dormant winter period.
Since it's not actively growing much then, the extra nutrients just remain unused in the soil and can even cause more harm than good.
Overwintering a cardamom plant
If you keep your potted plant outdoors during the warm summer temperatures, bring it indoors when the temperatures drop to about 60 to 70 F.
This is because the plant gets stressed in cold temperatures and might die.
This should be done in the late fall, winter, and early spring, and make sure the plants remain in the most humid part of the house with filtered light. (Your bathroom is one of the best spots for your cardamom plants)
In the colder months, from October to March, do not apply fertilizer. Remember to water only when the soil is dry.
Furthermore, the plant requires humidity, so keep the plant moist by misting if necessary.
When to Expect to See Pods Appearing
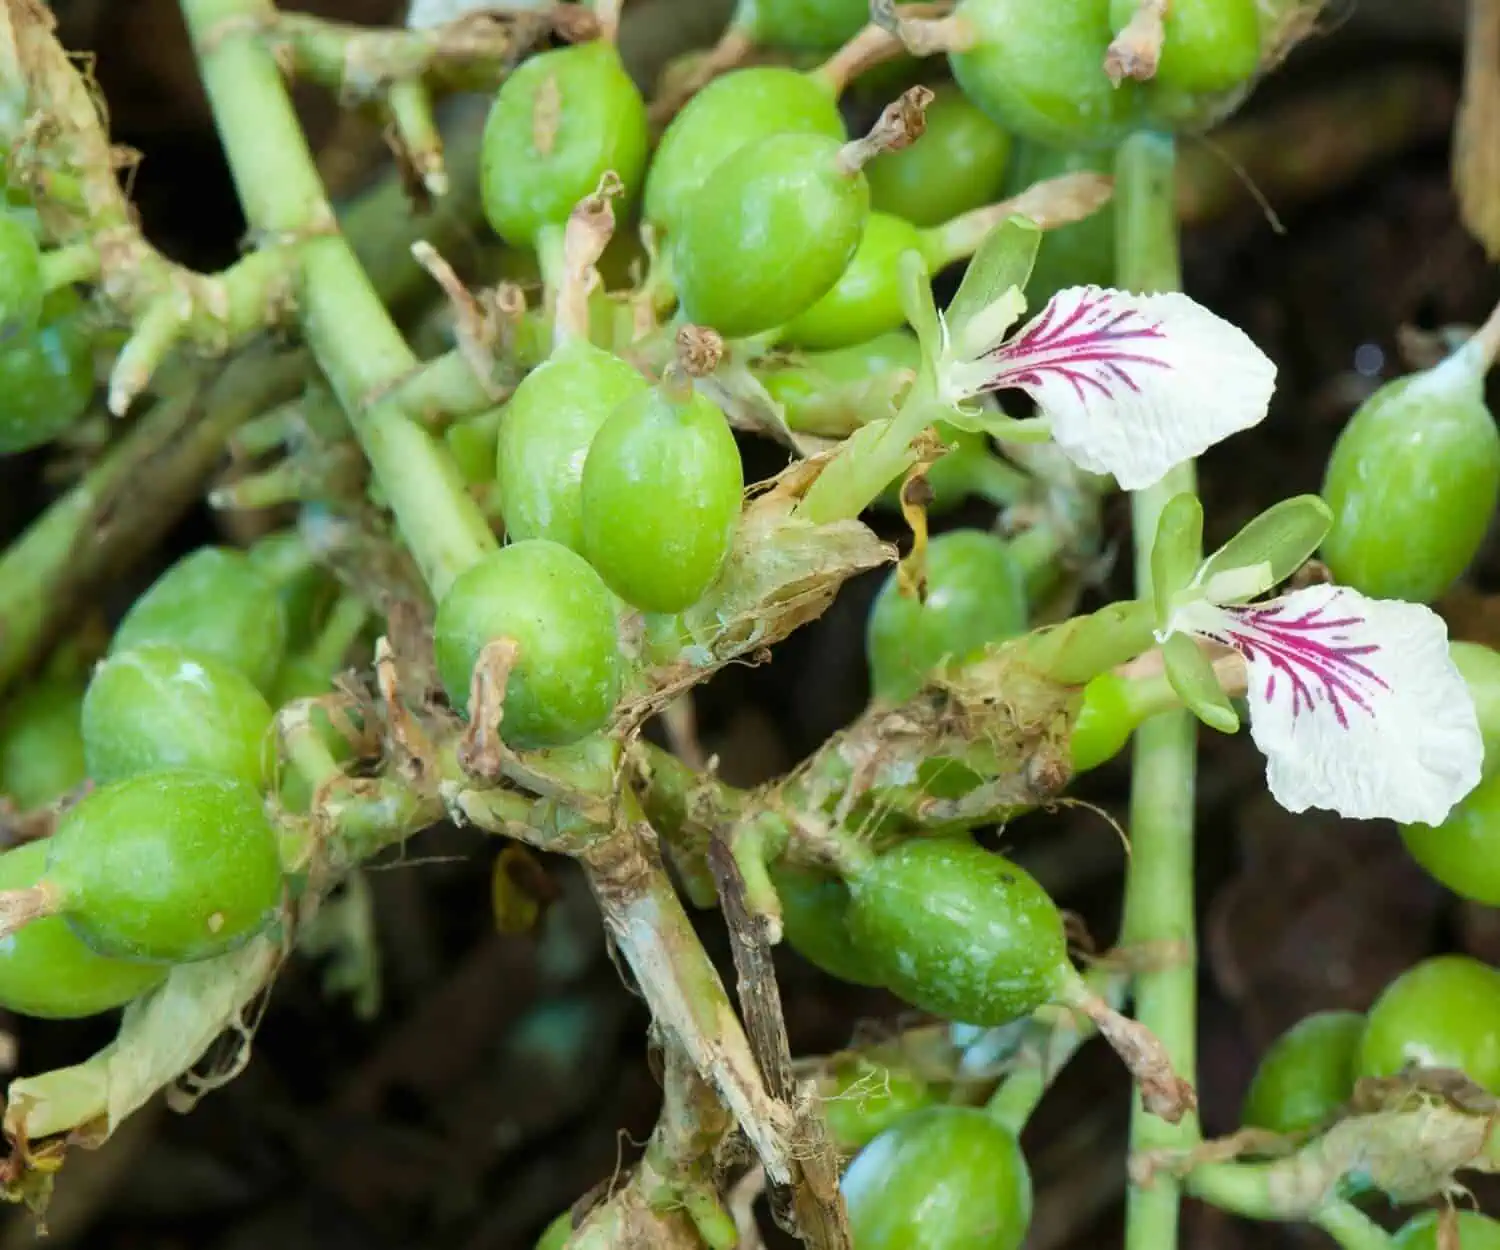
Cardamom pods typically don't show up until the plant is two to three years old, and in many indoor-grown cardamoms, you may get lush, fragrant foliage without ever seeing flowers or pods at all.
Even organizations like the Royal Horticultural Society classify cardamom as more of a conservatory plant in cooler climates, one that tends to produce foliage rather than fruit unless it's kept warm and humid enough (essentially greenhouse conditions).
But that's not a reason to give up!
A thriving cardamom plant is gorgeous on its own, with those long, glossy leaves and a faint spicy scent that drifts through the room when you brush past it.
Therefore, enjoy every bit of the process, and when the pods do eventually appear, you’ll be glad you waited patiently.
Harvest Mature Cardamoms
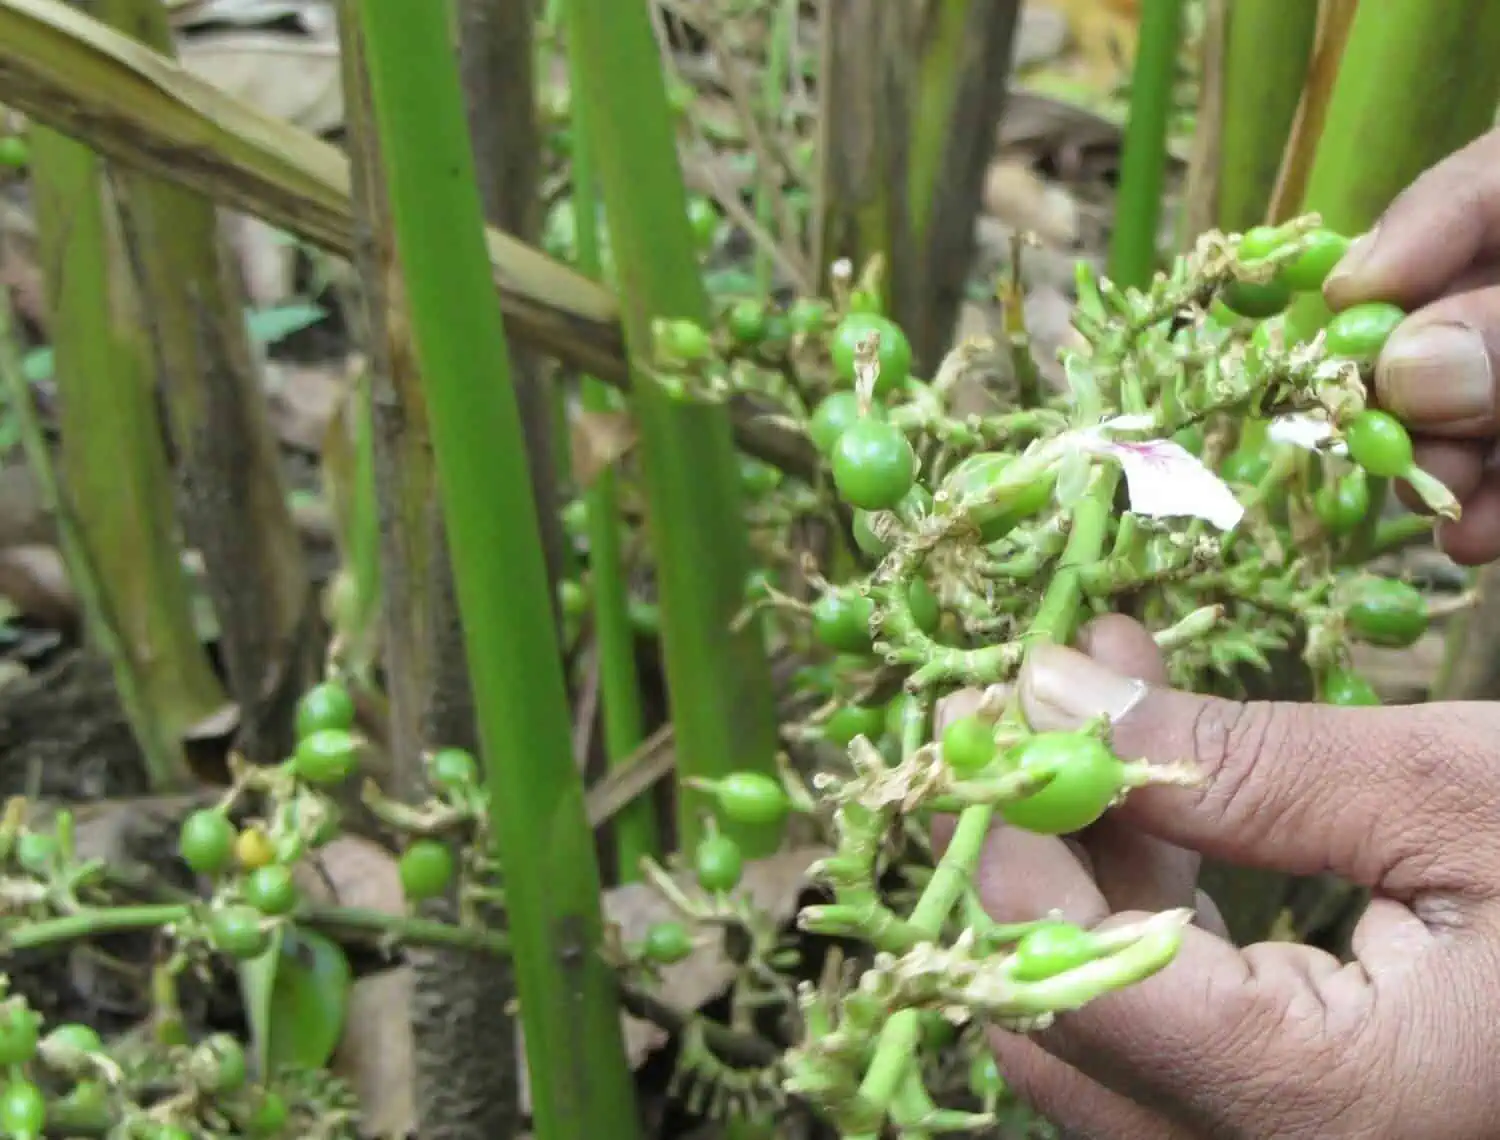
Harvest your cardamom by hand-picking individual pods, plump and dark green, just before they turn yellow or split open.
Since cardamom does not ripen uniformly, you’ll need to practice continuous harvesting.
After harvesting, dry the pods within 24 hours to preserve their vibrant color and flavor.
Common Problems and Easy Fixes
Cardamom is fairly resistant to pests and diseases as compared to several other houseplants.
Thrips show up occasionally, and you can usually catch them early with sticky traps before they do real damage.
Root rot is the more common issue, almost always caused by poor drainage and bad watering habits. If you check on those two, then rots should not be an issue.
Over time, you might notice your plant becoming root-bound, with roots pushing up and out of the pot. This is good. It means the plant is thriving enough to divide.
You can do this by cutting the stems by about half, gently separating the rhizomes, and potting the divisions individually in fresh soil. Within a few weeks, you'll likely have several new plants.
Pro Advice: Cardamom isn't considered toxic to cats or dogs, though any houseplant eaten in large quantities can cause an upset stomach. If you want, here's a list of poisonous plants for pets.
Conclusion
That has been a comprehensive guide on ‘How to Grow Cardamom Plant at Home’ for you.
As you have seen, not every garden or potting mix soil is suitable for growing cardamom.
However, you can mix a substrate of one-third potting soil, loamy garden soil, and sand to create a well-composed growing medium.
Like all other indoor plants, indoor container-grown cardamoms require good drainage, so it is advisable to have drainage holes in pots to remove excess water and avoid rot.
Finally, ensure adequate spacing between the individual plants so that all plants receive light or sun evenly.