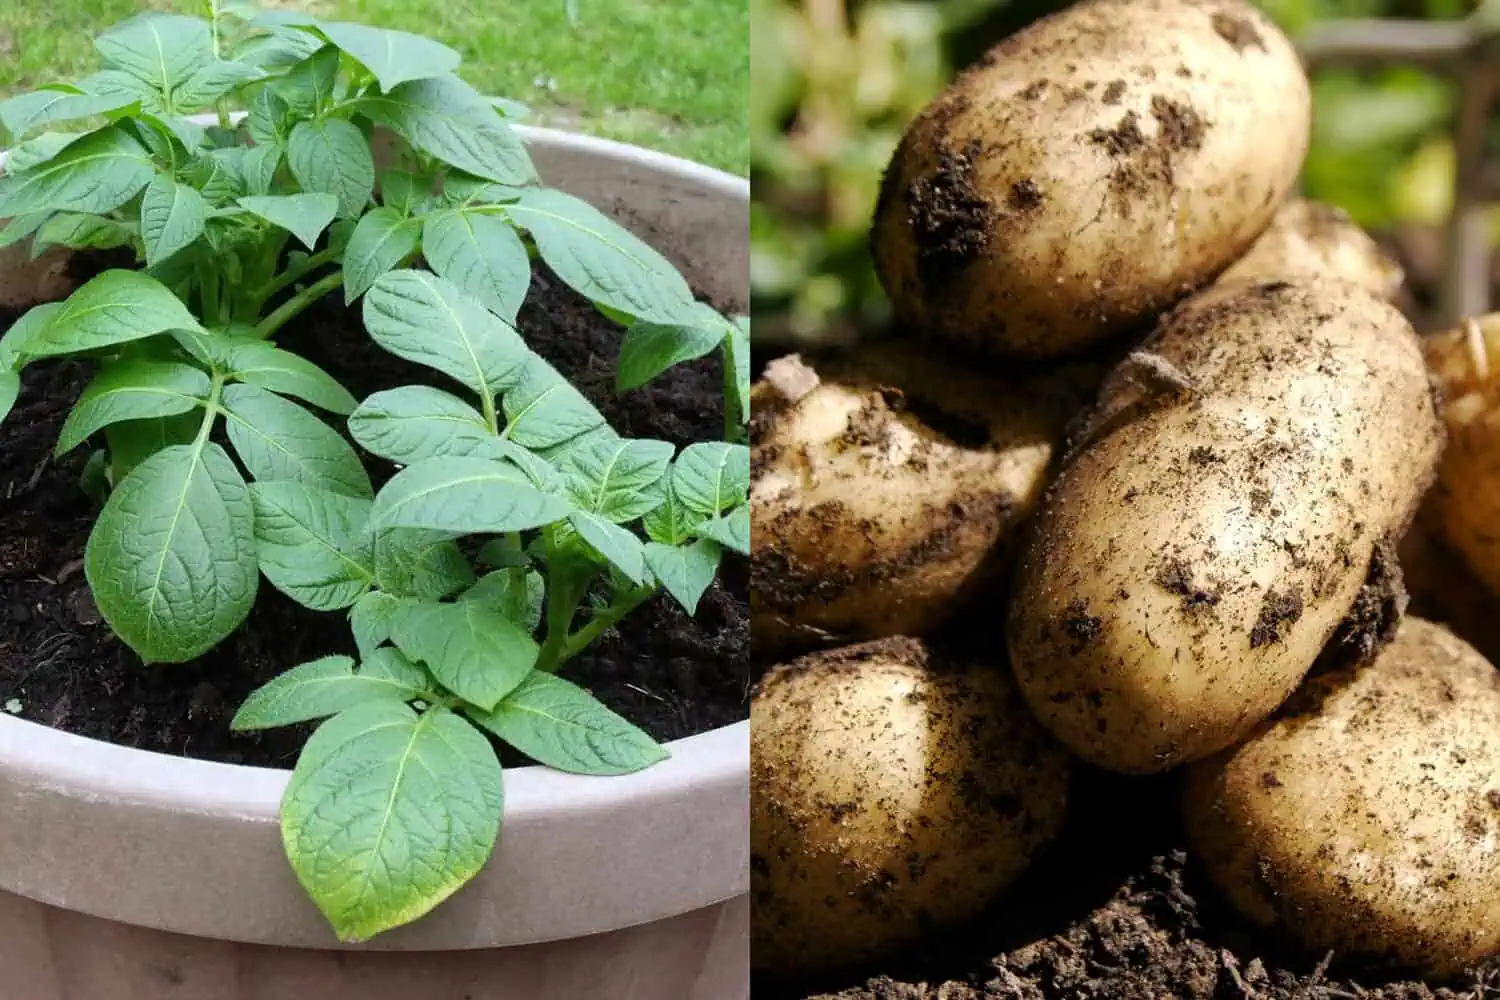
There’s something wildly satisfying about tipping over a pot and watching potatoes tumble out like buried treasure. It feels a little rebellious, too.
Potatoes are supposed to need fields, right? Long rows, tractors, serious farming energy.
Not really.
Potatoes are actually one of the easiest crops to grow in containers. If you’ve got a balcony, a patio, or even a sunny doorstep, you can grow a decent harvest in a pot.
And once you do it once, you’ll never look at a store-bought bag the same way again.
Let’s walk through it step by step.
Why Grow Potatoes in Pots?
First, it’s practical, and containers solve a lot of common potato problems.
You avoid poor soil, reduce pests, control drainage, and harvesting becomes fun instead of back-breaking.
Potatoes need loose, well-draining soil and consistent moisture for best yields. Containers make that much easier to manage.
Plus, growing in pots prevents the tubers from spreading underground and getting lost. Everything stays contained.
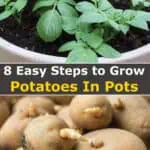
8 Easy Steps to Grow Potatoes in Pots
Step 1: Choose the Right Pot

A single potato plant needs at least a 10 to 15-gallon container. That’s roughly 30 to 40 cm deep and wide. The deeper the pot, the more room the plant has to produce tubers.
You can use:
- Large plastic pots
- Fabric grow bags
- Buckets with drainage holes
- Even sturdy storage bins
Just make sure there are drainage holes at the bottom. Potatoes hate sitting in soggy soil. That’s how rot starts.
Fabric grow bags are especially popular because they improve airflow and prevent waterlogging. They also make harvesting easier. You just tip them over.
Step 2: Buy Seed Potatoes, Not Grocery Store Potatoes

This part matters more than people think.
Use certified seed potatoes. They’re disease-free and meant for planting. Grocery store potatoes are often treated to prevent sprouting, and they can carry diseases that wreck your crop.
Common beginner-friendly varieties include:
- Yukon Gold
- Red Pontiac
- Kennebec
Early varieties mature in about 70 to 90 days. Main-season types take closer to 100 to 120 days but usually produce more.
If your seed potatoes are large, cut them into chunks, making sure each piece has at least one or two “eyes.” Let the cut pieces sit out for a day or two so they form a dry callus. This reduces rot after planting.
It feels weird to leave cut potatoes on the counter. Trust the process.
Step 3: Start with the Right Soil Mix
Garden soil alone is usually too heavy for containers.
Potatoes prefer slightly acidic soil, ideally with a pH between 5.5 and 6.5. A loose mix encourages better tuber formation.
I like using:
- Quality potting mix
- Compost
- A bit of perlite for drainage
Mix it well. You want something fluffy, not dense and compacted. Fill the container with about 10 to 15 cm of soil to start.
Step 4: Plant and Cover
Place your seed potatoes on top of that base layer. Space them out. In a 15-gallon pot, 2 to 3 pieces are usually perfect.
Then cover them with another 10 cm of soil.
Water thoroughly until water drains from the bottom. From here on out, consistency is key. Potatoes need even moisture, especially once they start forming tubers.
Step 5: Hill the Plants as They Grow
This is the step most beginners skip.
When the green shoots grow about 15 to 20 cm tall, add more soil around them, burying about half the stem. This process is called hilling.
Why bother?
Potatoes form along the buried stem. The more stems you cover, the more potential tubers you get.
Repeat this every time the plant grows by another 15 to 20 cm. Eventually, your container will be full.
It feels like you’re slowly building a soil tower around the plant. That’s exactly what you’re doing.
Step 6: Give Them Sun and Steady Water
Potatoes love full sun. Aim for at least 6 to 8 hours daily.
If you’re growing on a balcony, choose the brightest spot. If you're in a very hot climate, some light afternoon shade can prevent stress.
Water deeply whenever the top few centimeters of soil feel dry. During hot weather, that might mean every day. Containers dry out faster than in-ground beds.
Irregular watering can lead to small or misshapen potatoes. Consistency equals quality.
Step 7: Fertilize Smartly
Potatoes are moderate feeders.
Too much nitrogen gives you lush leaves and tiny tubers. Nobody wants that.
Use a balanced organic fertilizer when planting. Once flowering begins, switch to something slightly higher in potassium to encourage tuber development.
If you added compost at the start, you’re already ahead.
Step 8: Watch for Flowers and Know When to Harvest
After a few weeks, you’ll see flowers. That’s your signal that tubers are forming underneath.
You can harvest “new potatoes” about 2 to 3 weeks after flowering. These are smaller, tender, and delicious.
For full-sized potatoes, wait until the foliage turns yellow and starts to die back. That usually happens around 90 to 120 days, depending on the variety.
Stop watering once the foliage dies. Let the soil dry out for a week or two. This helps toughen the skin for storage.
Then comes the best part.
Tip the container over. Dig through the soil. It feels like a treasure hunt every single time.
Common Mistakes to Avoid
- Overwatering is the biggest one. Soggy soil equals rot.
- Using small containers limits yield. The plant simply can’t produce much in cramped conditions.
- Skipping hilling reduces your harvest. More buried stems means more potatoes.
- And planting too many pieces in one pot leads to competition. Give them space.
How Much Can You Expect to Harvest?

Yield depends on variety and care, but a healthy plant in a 15-gallon container can produce 1.5 to 3 kg of potatoes.
That means a few pots can supply several meals. Not bad for a balcony project. In fact, container yields can rival those of small in-ground plots when soil quality and watering are managed properly.
Storing Your Harvest
Let freshly harvested potatoes cure in a cool, dark place for about 1 to 2 weeks. This thickens the skins.
Store them in a breathable bag in a cool, dark space. Around 7 to 10°C is ideal. Avoid the refrigerator. Cold temperatures convert starch into sugar and affect flavor.
And whatever you do, don’t wash them before storage. Brush off the soil instead.
Conclusion
Is it really worth it to grow these gems in containers?
Absolutely.
Besides, growing potatoes in pots isn’t complicated, and you’re able to utilize the small space productively. Try it and see for yourself, and if you’re not ready, save this article on Pinterest and refer to it when ready.