The last frost date is around the corner, and you’re wondering what you should be doing to prepare for a new planting season.
While there are a ton of activities you could be doing, indoor seed starting should be on top of your list for various reasons.
First, you’ll be able to extend your growing season. In fact, many warm-season crops like tomatoes and peppers need 6 to 8 weeks of indoor growth before they’re ready for transplanting outdoors.
If you wait to sow them outside, you lose precious time.
Secondly, when seedlings are grown correctly, with proper light and airflow, they develop sturdy stems and healthy root systems. Something that you can easily achieve indoors with controlled environment.
Lastly but not least, it’s affordable, and you save more money. For instance, a packet of seeds might cost the same as one or two nursery plants. But that packet could contain 20, 50, or sometimes 100 seeds. Even if you only use half, you’re still ahead.
This leaves us with only one challenge: technical know-how. Lucky for you, this is what this post is all about, and it doesn’t matter whether you’re a complete noob.
What You’ll Need to Get Started

When it comes to starting seeds indoors, most beginners imagine that you need expensive gadgets, tunnels, or even a fully-fledged greenhouse; far from it.
Instead, you just need a few basics as follows:
1. Containers
You can use seed trays, cell packs, biodegradable pots, or even yogurt cups with drainage holes.
Whatever you decide to go with, make sure there’s sufficient drainage. Roots need oxygen, and soggy soil suffocates them.
If you want something beginner-friendly, standard seed trays with a bottom watering tray work beautifully.
2. Seed Starting Mix
Don’t scoop soil from your garden. It’s too dense and may contain pathogens. Instead, use sterile, soilless seed starting mixes because they reduce damping-off disease and improve aeration.
Seed starting mix is light and fluffy. It holds moisture without compacting.
While you can make your own (and there are plenty of resources to help you), buying a ready-made mix is the best course of action.
3. Seeds
Choose what you actually want to grow and eat. Tomatoes, peppers, lettuce, basil, cabbage. Check the seed packet for “days to maturity” and “start X weeks indoors before last frost.”
Starting too early leads to leggy, overgrown plants begging for sunlight you can’t give them yet. Hence, timing is very important. The general rule is to start at least 6 weeks before the last frost date.
4. Light
The seedlings, once germinated, will need 12 to 16 hours of strong light daily. Insufficient light is the primary cause of weak, spindly seedlings.
A simple shop light with LED or fluorescent bulbs positioned a few inches above the plants works wonders. Keep it close, and as the seedlings grow, raise the light.
5. Water
You should water your seedlings gently and consistently. Bottom watering is ideal. Therefore, let the trays absorb water from below so the surface stays relatively dry. That helps prevent fungal issues.
The soil should feel like a wrung-out sponge.
Indoor Seed Starting - The Step-by-Step Process

Step 1: Moisten the Mix
Before filling containers, lightly moisten the seed starting mix. It should clump when squeezed but not drip water.
Dry mix resists absorbing water later. So, pre-moistening will save you a lot of frustration along the way.
Step 2: Fill the Containers and Plant
Fill containers loosely and don’t pack the mix down too hard because the roots require sufficient air spaces.
Plant seeds at the depth recommended on the packet. A good rule is planting at a depth about twice the seed’s size. If you have tiny seeds, sprinkle them on top and press gently.
Alternatively, you can mix them with soil particles and then sprinkle. Once you’re done, try to label everything because tiny green seedlings all look the same at first
Step 3: Cover and Wait
Many gardeners use humidity domes at first. That’s fine until seeds germinate. As soon as you see green, remove the dome. Constant humidity plus no airflow invites disease, especially when the leaves emerge.
How long it takes for germination to occur varies depending on the crop. Some sprout in as little as three days, while others take two weeks. You just have to be patient at this time.
Step 4: Give Them Adequate Light
The moment the seedlings emerge, light becomes non-negotiable.
Keep lights about 2 to 3 inches above the tops. If stems stretch tall and thin, they’re begging for more light. Therefore, adjust accordingly.
Step 5: Thin the Seedlings
If multiple seedlings grow in one cell, snip the weaker ones at the soil level. Don’t pull them out. Pulling can disturb the roots of the one you want to keep.
One strong plant per cell grows better than five competing siblings.
Common Beginner Problems and How to Avoid Them (Seedlings Care)

Leggy Seedlings
Monitor your seedlings frequently. If you notice tall, thin, floppy, and often pale seedlings, it means they’re leggy as a result of insufficient light.
To solve this, lower the light source and increase intensity. Some crops, like tomatoes, can be replanted deeper to stabilize them.
Seedling Damping-Off Disease
Damping off manifest by seedlings suddenly collapsing at the soil line, which can be heartbreaking after all the effort.
This fungal disease thrives in wet, stagnant conditions. Several cultural practices, such as proper sanitation, sterile mix, airflow, and careful watering, can dramatically reduce risk.
Furthermore, use clean containers, avoid overwatering, and, where possible, add a small fan for gentle air circulation.
Overwatering
While moisture is essential for seed germination and seedling growth, they don’t need a swamp. Constantly saturated soil reduces oxygen, and roots suffer.
Let the surface dry slightly between waterings.
Feeding Seedlings the Right Way
Seed starting mix contains little to no fertilizer. That’s intentional. Seeds contain the energy they need to sprout.
But once true leaves appear, they need nutrients. Use a diluted liquid fertilizer at about half strength every week or two.
Hardening Off
You can’t raise seedlings indoors for weeks and then suddenly toss them into full sun and wind. That will cause irreversible plant shock, hence the need for hardening.
Hardening off is the gradual introduction to outdoor conditions.
Start with one hour of shade outside. Increase exposure over 7 to 10 days. Slowly add sunlight and wind. By so doing, the plants adapt, strengthen their cell walls, and prepare for real-world conditions.
Timing It Right
It’s important to find your local average last frost date. Then count backward based on the seed packet’s recommendation. Tomatoes, for example, are often started 6 to 8 weeks before that date.
Starting too early creates oversized plants trapped indoors. Starting too late means smaller transplants.
Best Plants to Start Indoors for Beginners

If you’re just starting, try these indoors:
Tomatoes
Peppers
Basil
Cabbage
Broccoli
They respond well to transplanting and show visible progress quickly. That early success builds confidence. Avoid root crops like carrots or radishes indoors since they prefer direct sowing.
Conclusion
For many home gardeners, it's fun to get a head start on the upcoming garden season by starting seedlings indoors.
Growing quality seedlings indoors requires high-quality seeds, a germination medium/potting mix, containers, proper temperature and moisture conditions, and adequate light.
Most importantly, start small with a handful of crops for your first year, as you’ll notice, it gets overwhelming quite fast. Also, remember to keep notes about planting dates, germination times, and observations.
When the next season arrives, you’ll be a lot wiser.
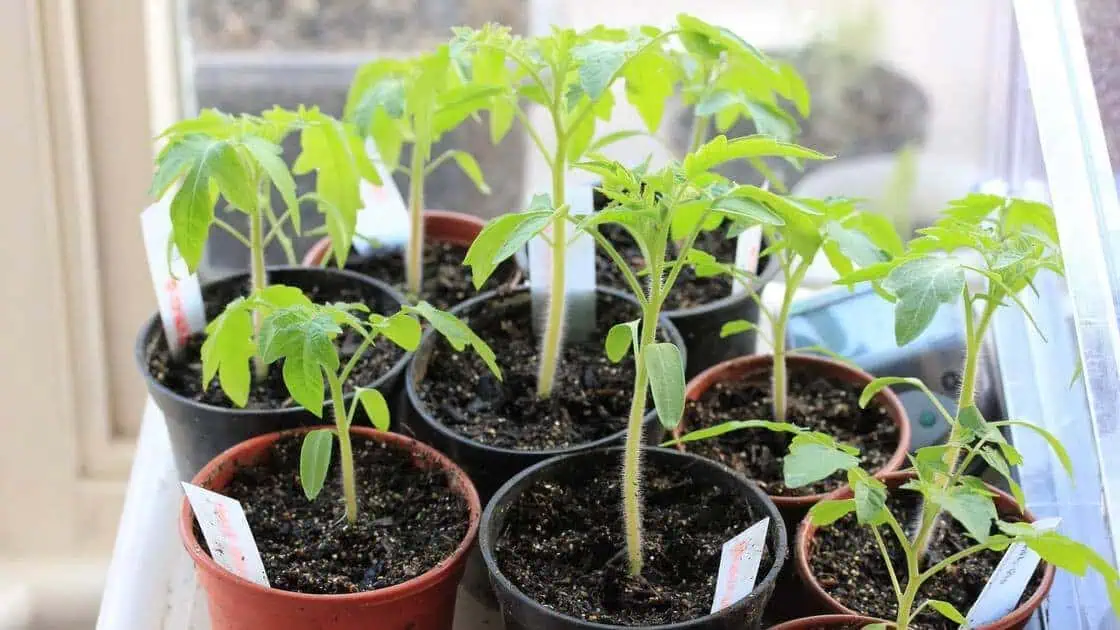
Featured Image Credit: Vertical Veg