Did you know that carrots are made up of roughly 85 to 90% water?
Despite being composed mostly of water, they're one of the most versatile vegetables in the kitchen, adding crunch to fresh salads, sweetness to cakes, and depth to soups, curries, and stews.
That versatility helps explain why carrots are the second most popular vegetable in the world after potatoes. With so many ways to use them, growing your own is a great idea, whether you have a spacious garden or only a small patio or balcony.
If you don't have room for raised beds or an in-ground vegetable patch, pots offer an equally practical way to grow healthy, flavorful carrots.
In this guide, you'll learn everything you need to know about growing carrots in containers, from choosing the right pot and soil to harvesting straight, sweet carrot roots at home.
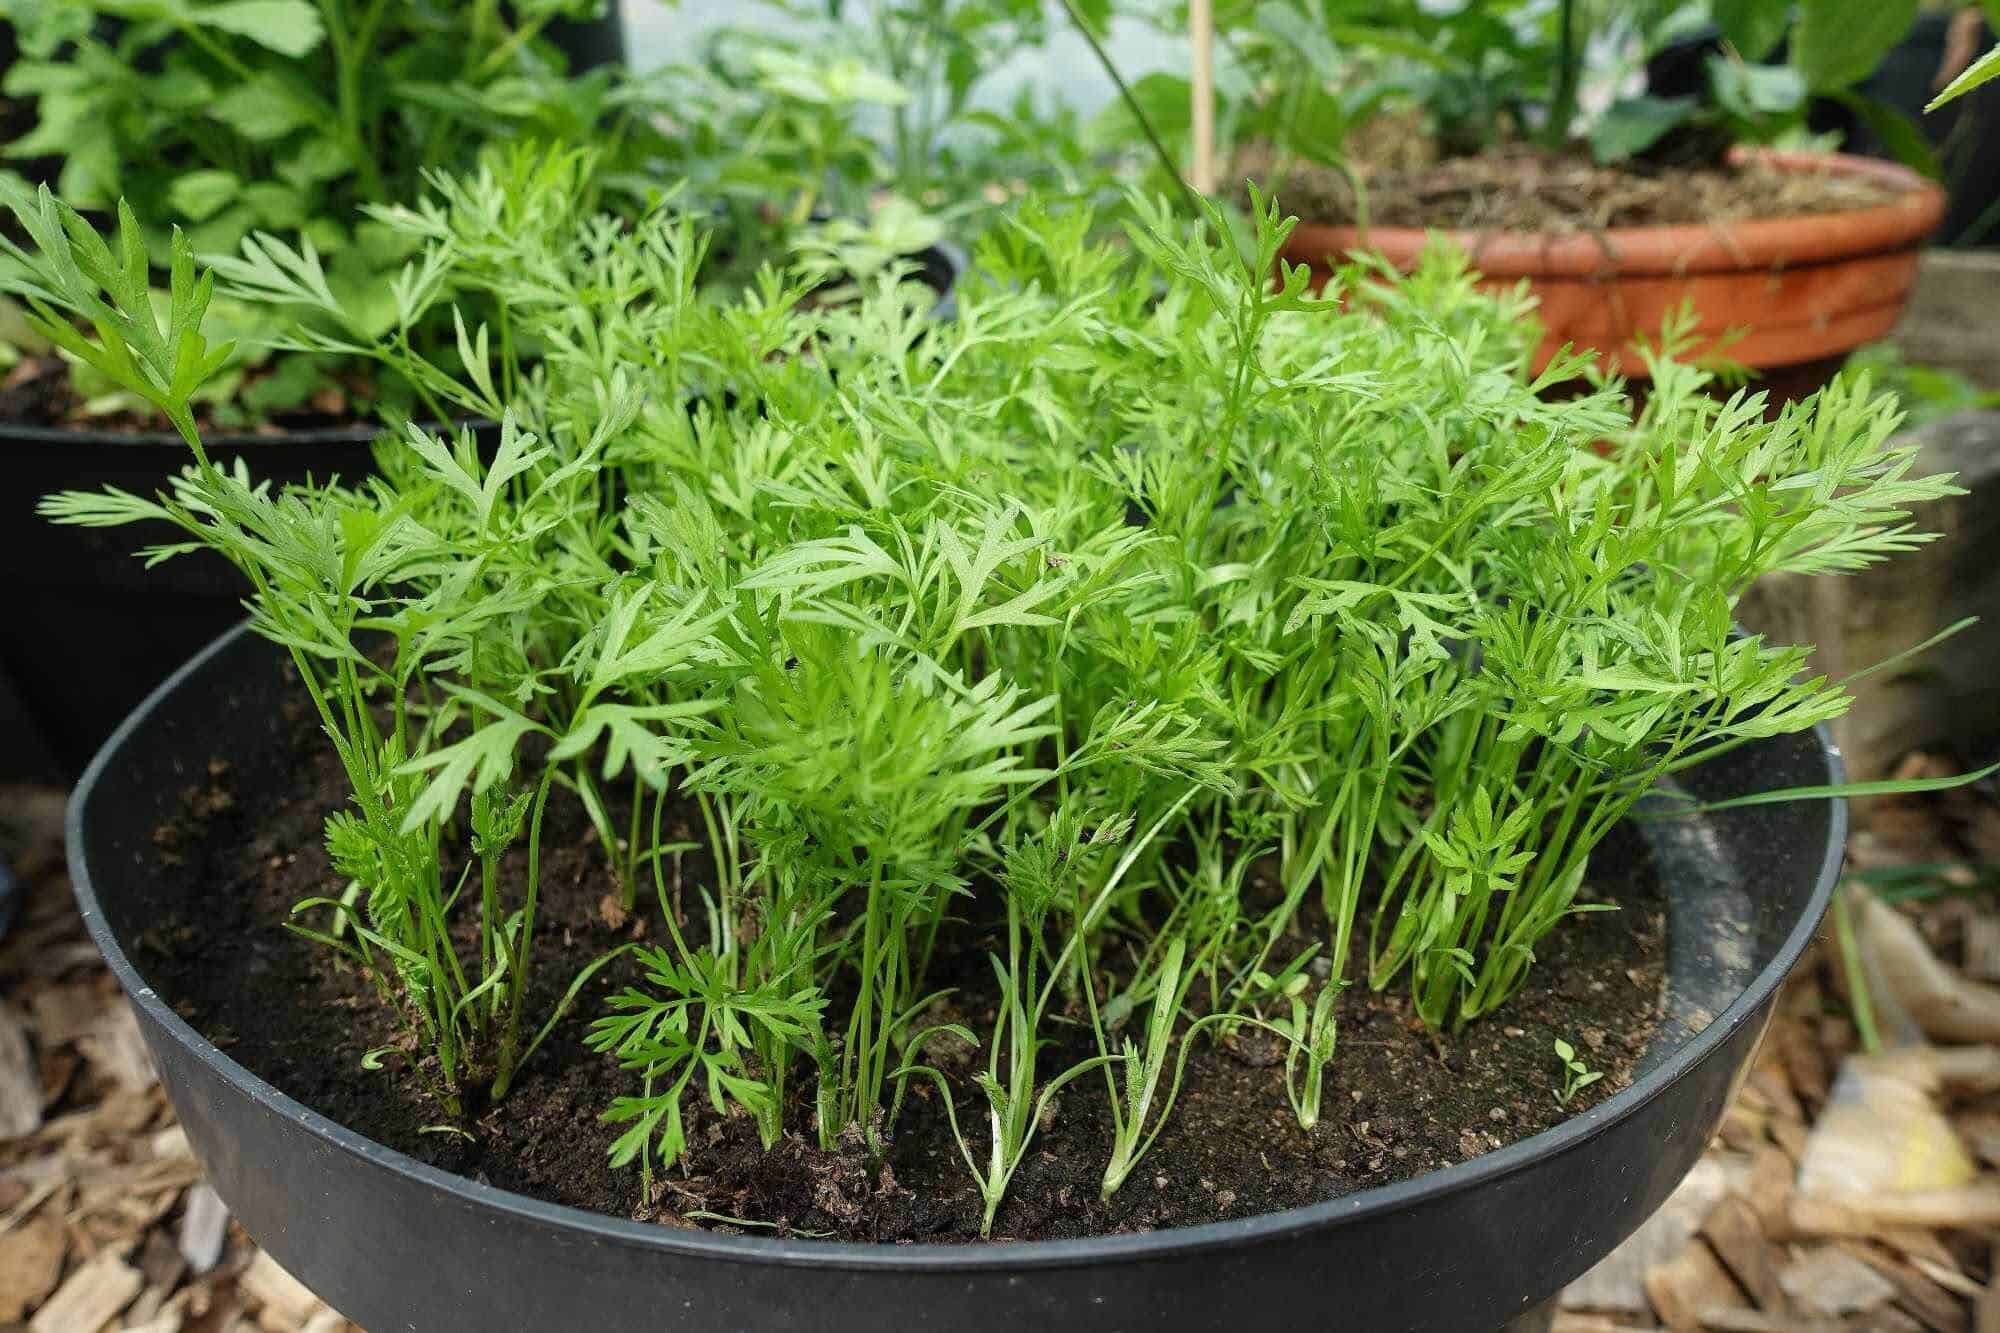
A Step-by-Step Guide on How to Grow Carrots in Containers
Choose the Right Container
When it comes to growing carrots in pots, the depth of your container matters.
Since the roots need room to grow downwards, the first thing to consider is the container’s depth.
For most standard carrot varieties, you're looking at a minimum of 12 inches deep.
For longer varieties like Imperator or Danvers, you can go up to 16 inches or more. Shorter varieties like Chantenay or Nantes can get away with a 12-inch depth and are often the best choice for container growing precisely because of that.
Do not overlook the width either. A container that's at least 12 inches in diameter offers enough surface area to plant multiple carrots without crowding them.
A half wine barrel, a large fabric grow bag, or a deep window box all work beautifully. Actually, the bigger the container, the better the outcome, as your carrots will have enough space to develop.
Speaking of fabric grow bags, they've become a favorite among container gardeners. This is because they're breathable, which prevents the soil from becoming waterlogged, and they're cheap.
In that regard, a fabric grow bag in the 7- to 10-gallon range is often a better investment than an expensive decorative ceramic pot, which might have poor drainage.
This brings us to the last consideration: drainage. If your container has no drainage holes, it’s advisable to drill some before planting.
If the growing medium is soggy, the carrots will rot, and you’ll have nothing to show at the end of it all.
Use the Right Potting Mix
Don't use garden soil in containers. This is the single most important thing to understand about container gardening in general.
Garden soil compacts under its own weight in a pot, which creates the same hard conditions you were trying to escape in the first place.
Instead, use a high-quality potting mix, one that's light and fluffy, ideally with perlite or coarse sand already mixed in to improve drainage.
Some gardeners prefer to create their own blend of roughly two parts potting mix, one part coarse sand or perlite, and one part compost.
It's a simple combination that provides the loose, airy texture that carrot roots love.
Avoid mixes with too many large bark pieces or chunky wood chips. As I mentioned earlier, carrots hate obstacles any more than they do compaction.
Pick your Carrot Variety

There are various carrot varieties, and they vary in size, sweetness, and color. It’s up to you to go for what you prefer.
For containers, the general rule is to go shorter with varieties like Nantes, Chantenay, and Paris Market (a little round carrot that resembles a radish) as excellent choices.
Nantes carrots in particular are known for being sweet and tender, and they tend to do well in most growing conditions.
Paris Market varieties, on the other hand, are worth trying if you have a shallower container, since they only grow to about 2 inches in diameter.
If you're set on a longer variety, you can make it work with a deeper container. Just be realistic about your pot depth first, then choose your variety accordingly, not the other way around.
Plant your Seeds
When it comes to carrots, always start the seeds directly in a container. This is because carrots don’t transplant well. Their taproots are easily damaged, and once disturbed at the seedling stage, they struggle to recover.
Start by filling your container to about an inch below the rim. This small gap makes watering easier and prevents soil from washing out over the top. Then scatter your seeds thinly across the surface.
Carrot seeds are small and a little awkward to handle individually, but resist the urge to shake a big pinch out at once.
Otherwise, you'll end up with overcrowded seedlings that compete with each other and produce weak roots.
After that, press the seeds gently into the soil and cover them with about a quarter inch of fine potting mix or vermiculite.
I personally prefer vermiculite because it remains loose and moist without crusting over, which can otherwise prevent seedlings from pushing through.
Then, mist them gently with a misting nozzle to avoid disturbing the seeds.
Pro tip: Carrots have a slower germination rate, often about 14 to 21 days. So, be patient and keep the surface consistently moist during this period, and the seeds will eventually sprout.
Thinning Out
Once the seedlings are about an inch tall, you need to thin them. It means removing some seedlings so the remaining ones have enough space to develop properly.
This might feel wrong as you've waited for weeks for them to grow, only to pull some out. If the carrots get overcrowded, the result is small, stunted roots and a poor-quality yield.
Ensure each carrot gets at least 2 to 3 inches of space, and 3 to 4 inches for larger varieties.
To thin, snipping the seedlings at the soil level with small scissors rather than pulling them. This way, you avoid disturbing the roots. Snipping might feel slower, but it’s safer for what's left behind.
Feeding and Watering
Carrots need consistent moisture, but they hate soggy soils.
Therefore, aim at maintaining an evenly moist growing medium. Check the top inch of soil with your index finger daily, and if it feels dry, water thoroughly until it drains.
Do not water if the soil is still moist.
Inconsistent watering is one of the most common reasons for cracked or forked carrots. A period of drought followed by a sudden heavy watering can cause the root to expand too quickly, which splits it. Although it’s not a safety issue (cracked carrots are still edible), it's avoidable.
For feeding, carrots are not heavy feeders; hence, there are a few things to note.
Too much nitrogen, in particular, encourages leafy green tops at the expense of the root below.
If you've used a rich potting mix with compost, you may not need to fertilize at all. Should you feel the need to fertilize your carrots, choose a low-nitrogen option formulated for root vegetables and apply it sparingly.
Light and Temperature
Carrots thrive well in full sun, ideally 6 to 8 hours of sunlight daily. One of the advantages of growing carrots in containers is that you can move your pots to follow the sun as the season changes.
If your balcony gets morning sun and afternoon shade, try to position your carrot container where it gets the most light.
They're also surprisingly cold-tolerant and can handle a light frost. In fact, a frost or two can actually improve their flavor.
Cold temperatures cause the plant to convert some of its starches into sugar as a kind of antifreeze mechanism through a process called cold acclimation (Academia).
This makes the carrots taste sweeter. It's one of those happy accidents of nature that rewards patience.
When to Harvest

The right time to harvest is when the carrot’s shoulders (the top part where it meets the soil)
If you can see a bit of orange poking up and it's roughly the diameter you'd expect, gently loosen the soil around it with a finger and pull it out for testing before pulling the whole container.
If it tastes as per your liking, know that the rest are ready too.
However, do not leave the mature carrots in the ground past their prime. They might end up getting woody and lose their sweetness.
After harvesting, remove the tops before storing. The green leaves draw moisture from the roots, which shortens their shelf life.
Although it may sound confusing, unwashed carrots stored in the fridge can last for several weeks longer.
Conclusion
Container growing solves the two biggest obstacles most gardeners face with carrots, i.e., compacted soil and inconsistent moisture.
Once you understand how to grow carrots in containers, the variables become much easier to control than they are in open ground.
A pot at least 12 inches deep, loose, well-draining soil, and a watering schedule that never leaves the top inch dry out are really the three things that matter most.
What surprised me most was how much faster I learned to read my carrots once they were in containers.
Stunted or forked roots almost always trace back to soil that's too dense or a pot that's too shallow, and both are easy fixes the next time you plant.
If you've been hesitant to try carrots without a full garden bed, a container gives you the control to get it right and the flexibility to experiment until you achieve your gardening goals.